

i-Fix Education
Hygiene and maintenance.
What the implant and its components are made of, and what that means for cleaning and recall.
For qualified clinicians. This guide explains how the i-Fix system is organised. It does not replace the Instructions for Use supplied with each product, which carries the complete instructions, precautions and clinical use information.
This page follows an implant through its working life rather than through the products alone: what it is made of, how the restoration above it is designed to stay cleanable, what is recorded at handover, how a patient maintains it at home, how a practice recalls and examines it, and what a healthy implant looks like next to one that is not. The Instructions for Use supplied with each system remains the governing document for anything clinical; this page is the orientation that sits above it.
- Understand the implant and restoration
- Design for cleansability
- Patient documentation
- Home care
- Bridges and full-arch prostheses
- Recall and examination
- Professional maintenance
- Recognise peri-implant disease
- Radiographic assessment
- Further evaluation when needed
How it works
Each stage names what happens and the one thing that most often goes wrong there. Numbers stay in the IFU, where they can be revised without a stale copy living on a web page.
-
What the implant is, and why it matters here
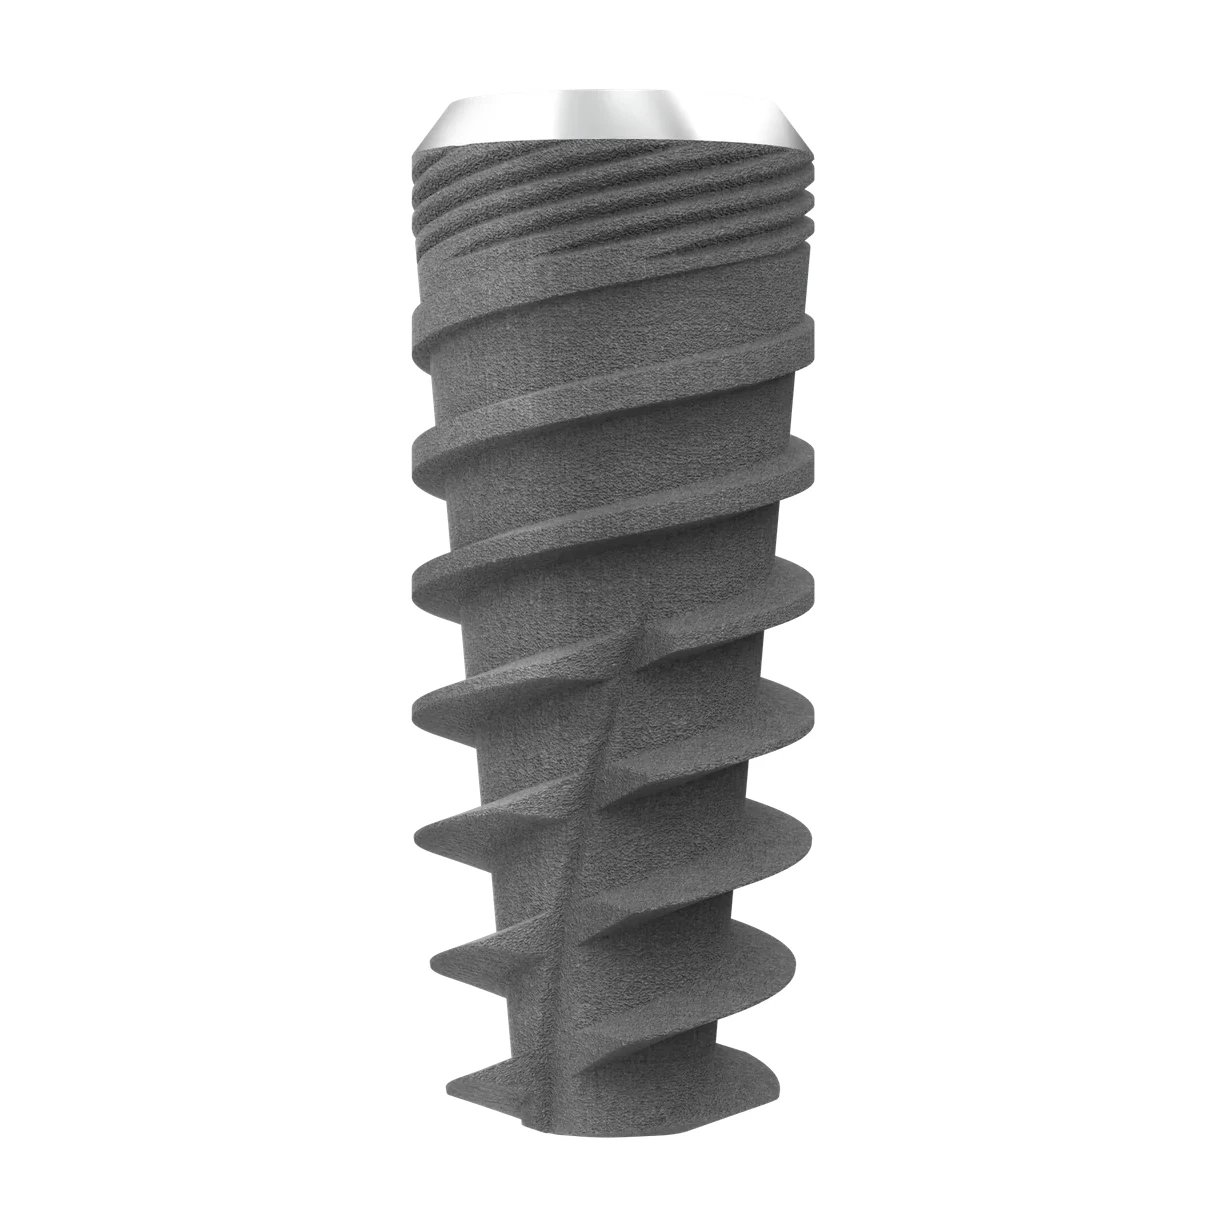
i-Fix implants are machined from ASTM F136 ELI Grade 5 titanium alloy and finished with the Nano Bio-Activated surface developed with Psilox AB in Uppsala, Sweden. That surface is engineered to be in contact with bone, not with the mouth: it sits below the crest once the implant is placed. The abutment and the restoration above it are machined and polished rather than roughened, and it is that polished, transmucosal section, not the implant body, that a patient and a hygienist actually reach.
The roughened surface is the part that meets bone first. It is not intended to be exposed, and exposure is a clinical finding rather than a maintenance task.
-
The restoration is designed to be cleanable
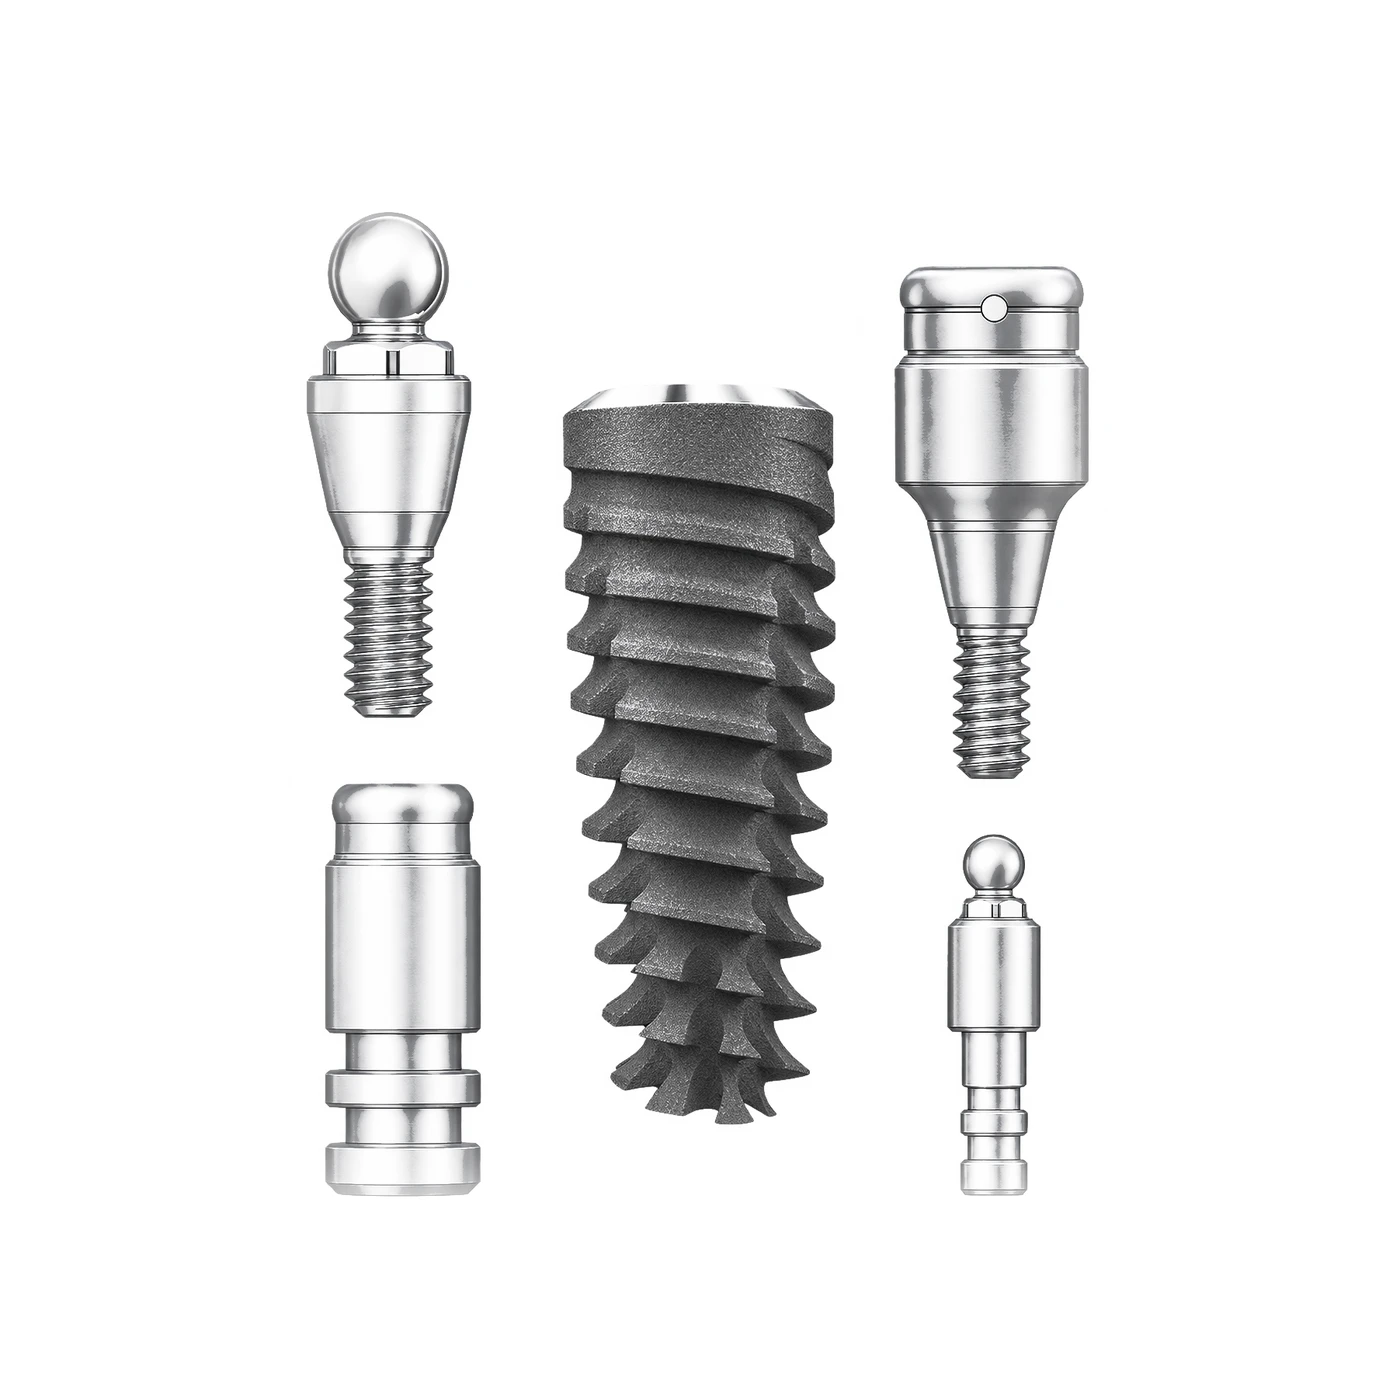
What decides whether a restoration stays clean for years is its emergence profile: the contour the crown takes as it widens from the platform up through the soft tissue to the gingival margin. A profile shaped too aggressively closes off the interproximal and gingival areas a brush or an interdental aid needs to reach, whatever the platform underneath it. Healing abutments are listed by collar height as well as by diameter so that profile can be shaped to the tissue thickness at the site rather than to convenience, and screw-retained restorations can be removed for inspection in a way cement-retained ones cannot.
- Emergence contour shaped to the tissue, not over-built to hide the margin
- Screw-retained restorations can be removed for inspection and cleaning; cement-retained ones cannot
- Multi-unit abutments move the connection above the tissue, which puts the restorative margin where it can be seen and cleaned
-
What to give the patient, and what to keep
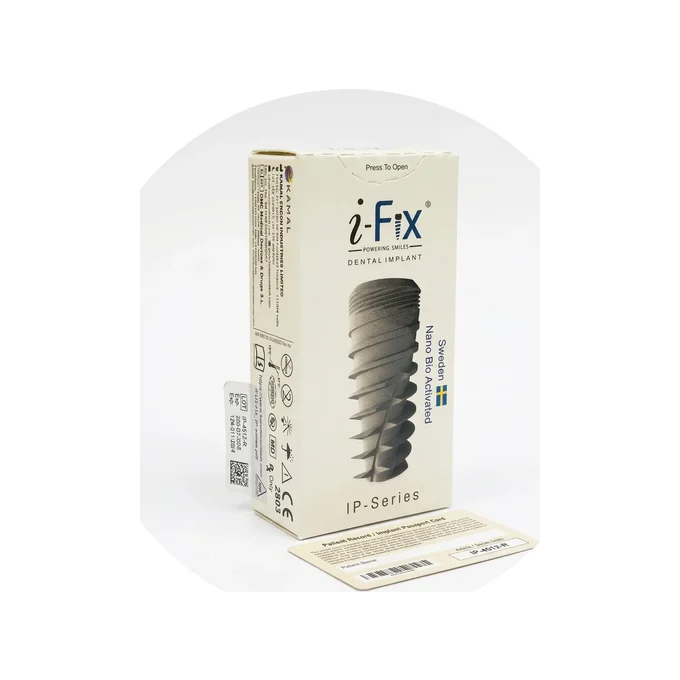
The two things that matter most at handover cost nothing. The patient needs to know what was placed and that it needs reviewing, and the practice needs the record that lets anyone restore or service it later. Record the series, the article code, the diameter and the length against the tooth number, because the same component name exists on more than one platform and those are different parts.
- Series, article code, diameter and length, against the tooth number
- Which platform the restoration sits on, NP, RP or zygomatic multi-unit
- Whether the restoration is screw-retained or cement-retained
- The date of placement and the date of loading
-
Patient home care
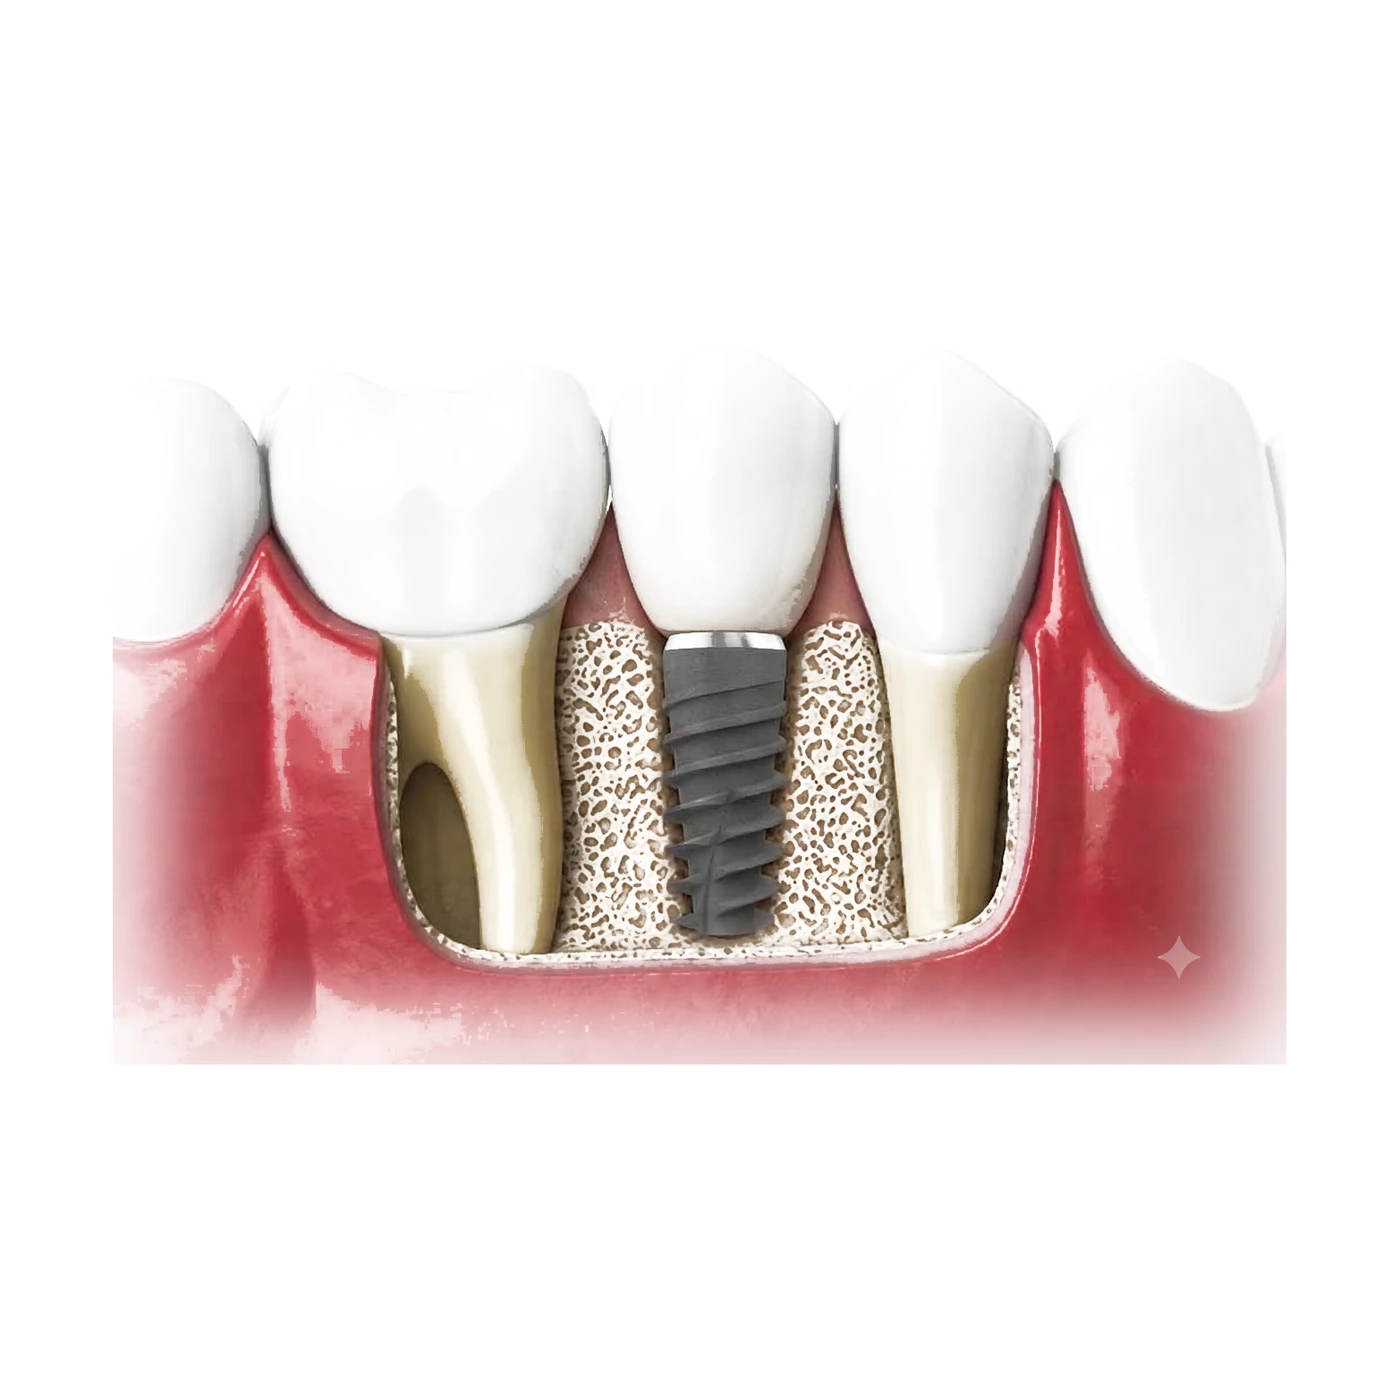
Daily plaque control around an implant-supported restoration works on the same principle as around a natural tooth, but the aids are chosen against the restoration in front of the patient rather than assumed. A soft brush covers the facial and lingual surfaces; the interdental and proximal areas, which the emergence profile was shaped to keep open, need an interdental brush or floss-type aid sized to what the restoration actually allows access to.
- A soft manual or powered brush for the facial and lingual surfaces
- An interdental brush sized to the embrasure, for the proximal areas
- Floss-type or superfloss-type aids where the restoration or a bridge pontic keeps a conventional brush out
-
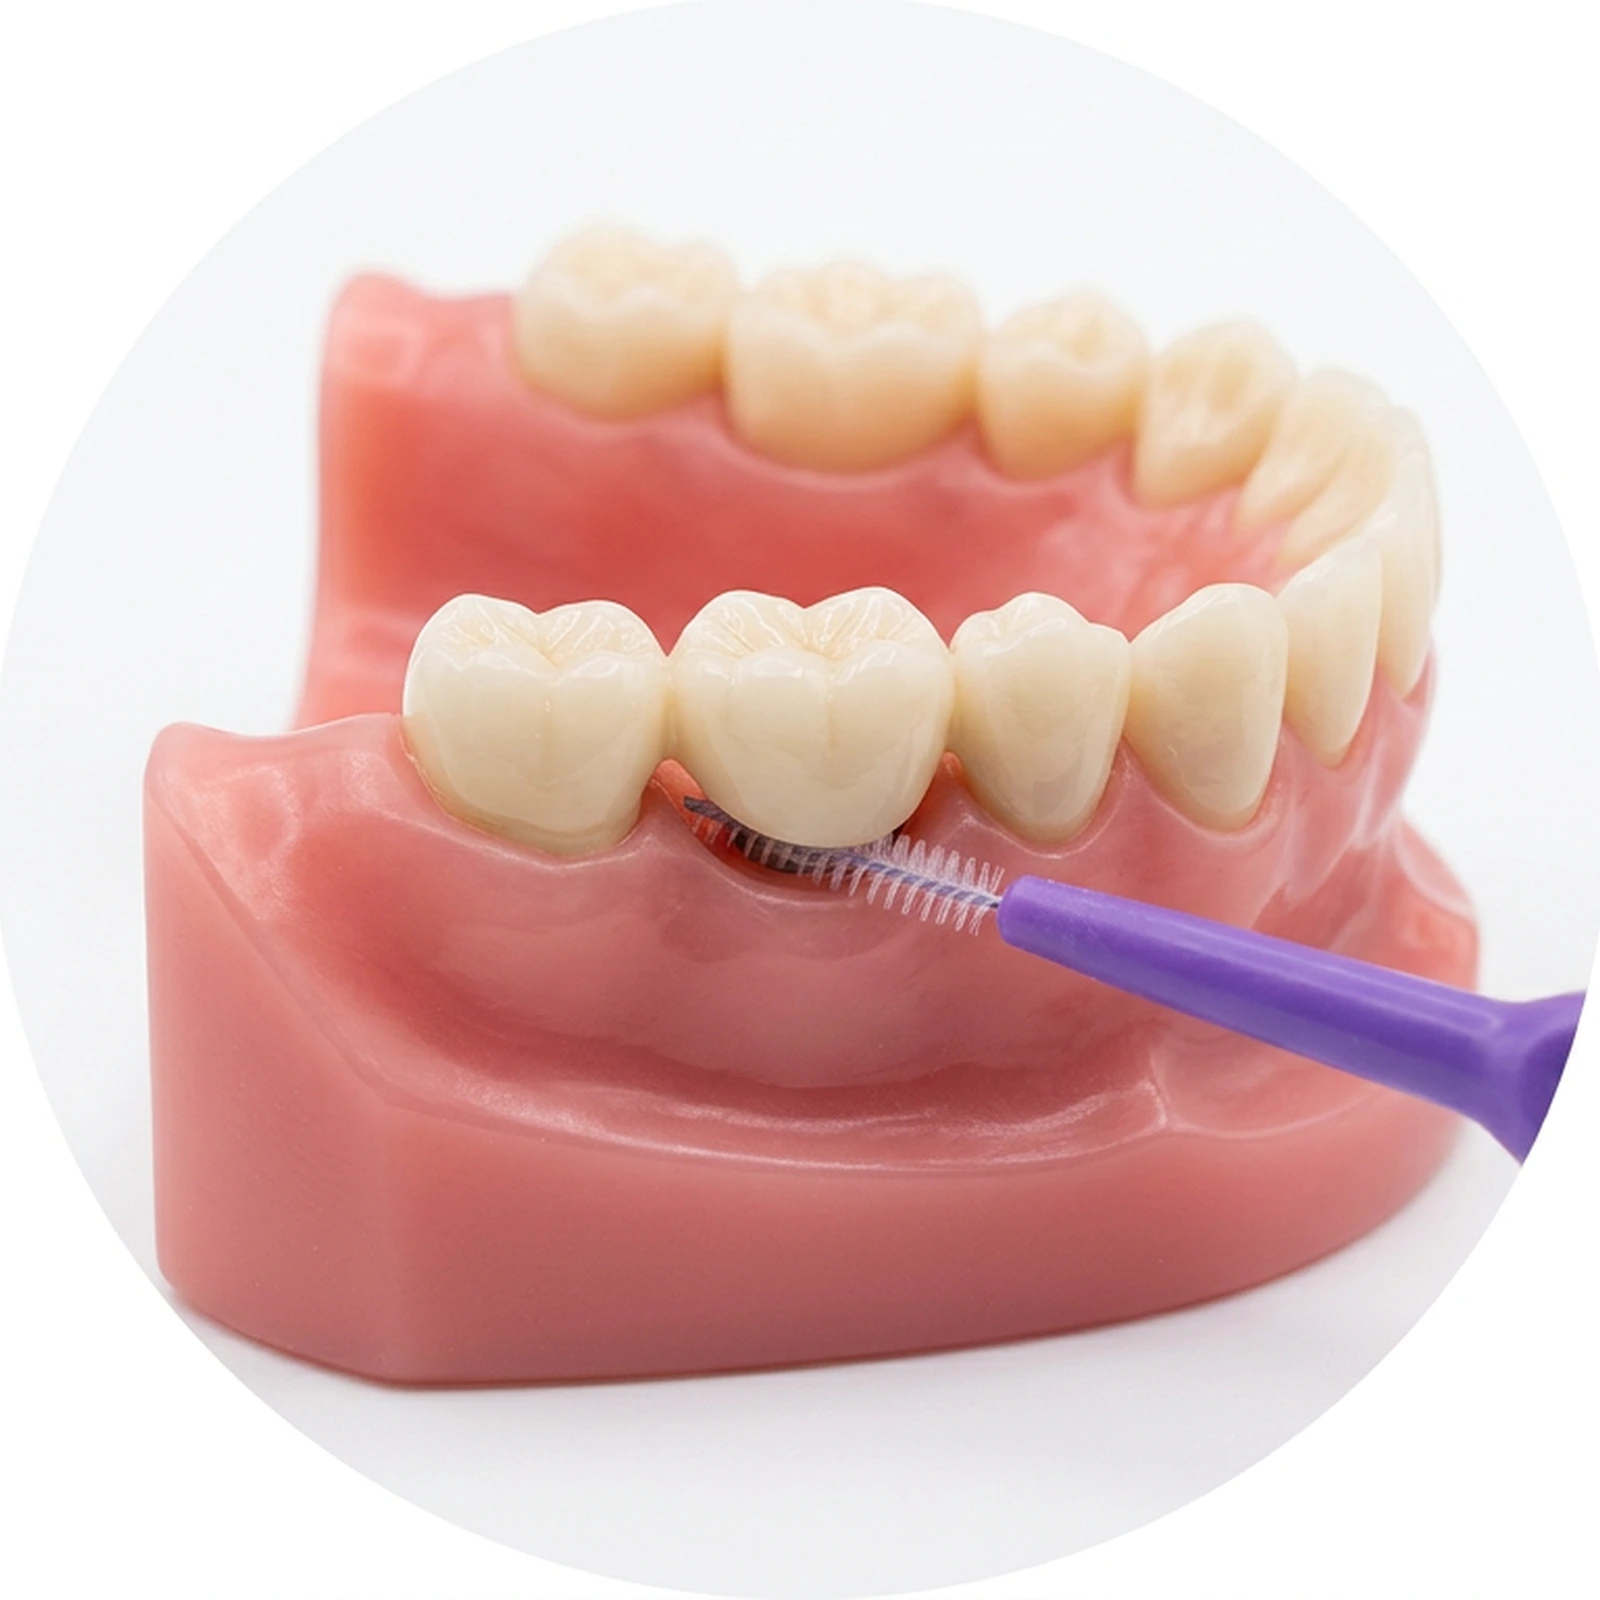
Maintenance of implant bridges and full-arch prostheses
A single implant crown and a full-arch prosthesis do not carry the same hygiene demand, and treating them as if they did leaves the harder case under-maintained. A bridge or a full-arch prosthesis creates a tissue-prosthesis interface that a toothbrush cannot reach directly: the space beneath the connecting bar or pontic is where plaque accumulates and where an interdental brush, a floss threader or a water flosser has to be directed deliberately, at every abutment and along the full underside of the prosthesis.
Plaque under a full-arch prosthesis is out of sight of the patient. Show them the aid and the path it needs to follow, rather than assuming a brush is enough.
-
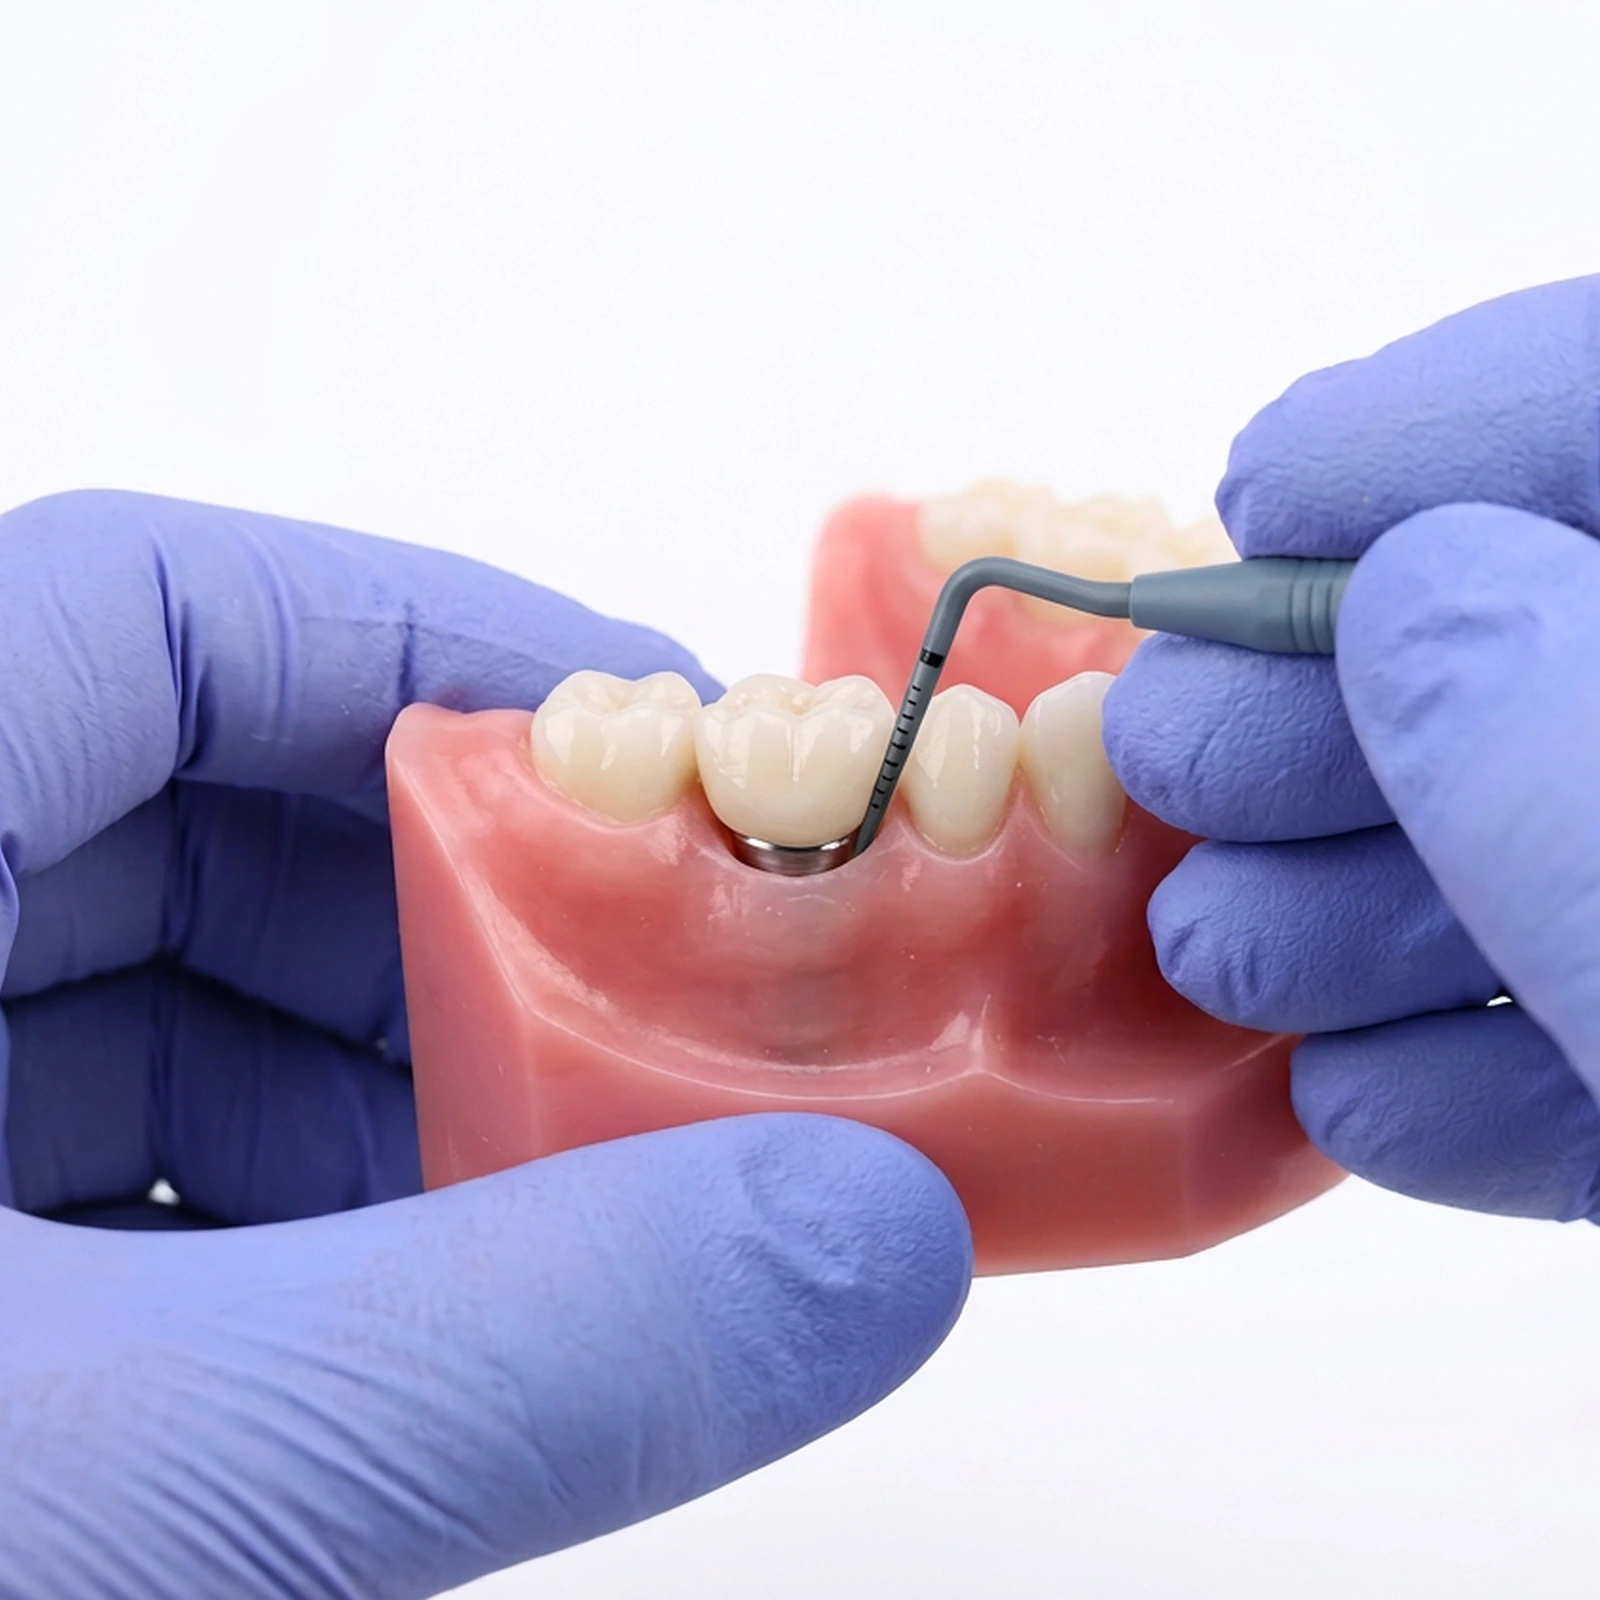
Clinical recall and peri-implant examination
Recall is set from the patient in front of the clinician, not from a single interval applied to every case. A patient with a history of periodontal disease, a compromised soft-tissue phenotype or a full-arch prosthesis carries a different risk than a single crown in a periodontally healthy mouth, and the recall interval follows that risk. Each visit examines the same set of findings, whatever the interval that brought the patient in.
- Peri-implant soft-tissue appearance
- Plaque and calculus at the restoration margin
- Bleeding or suppuration on probing, where applicable
- Probing depth and attachment level
- Integrity of the prosthesis and its components
- Occlusion
- Mobility, where clinically relevant
-
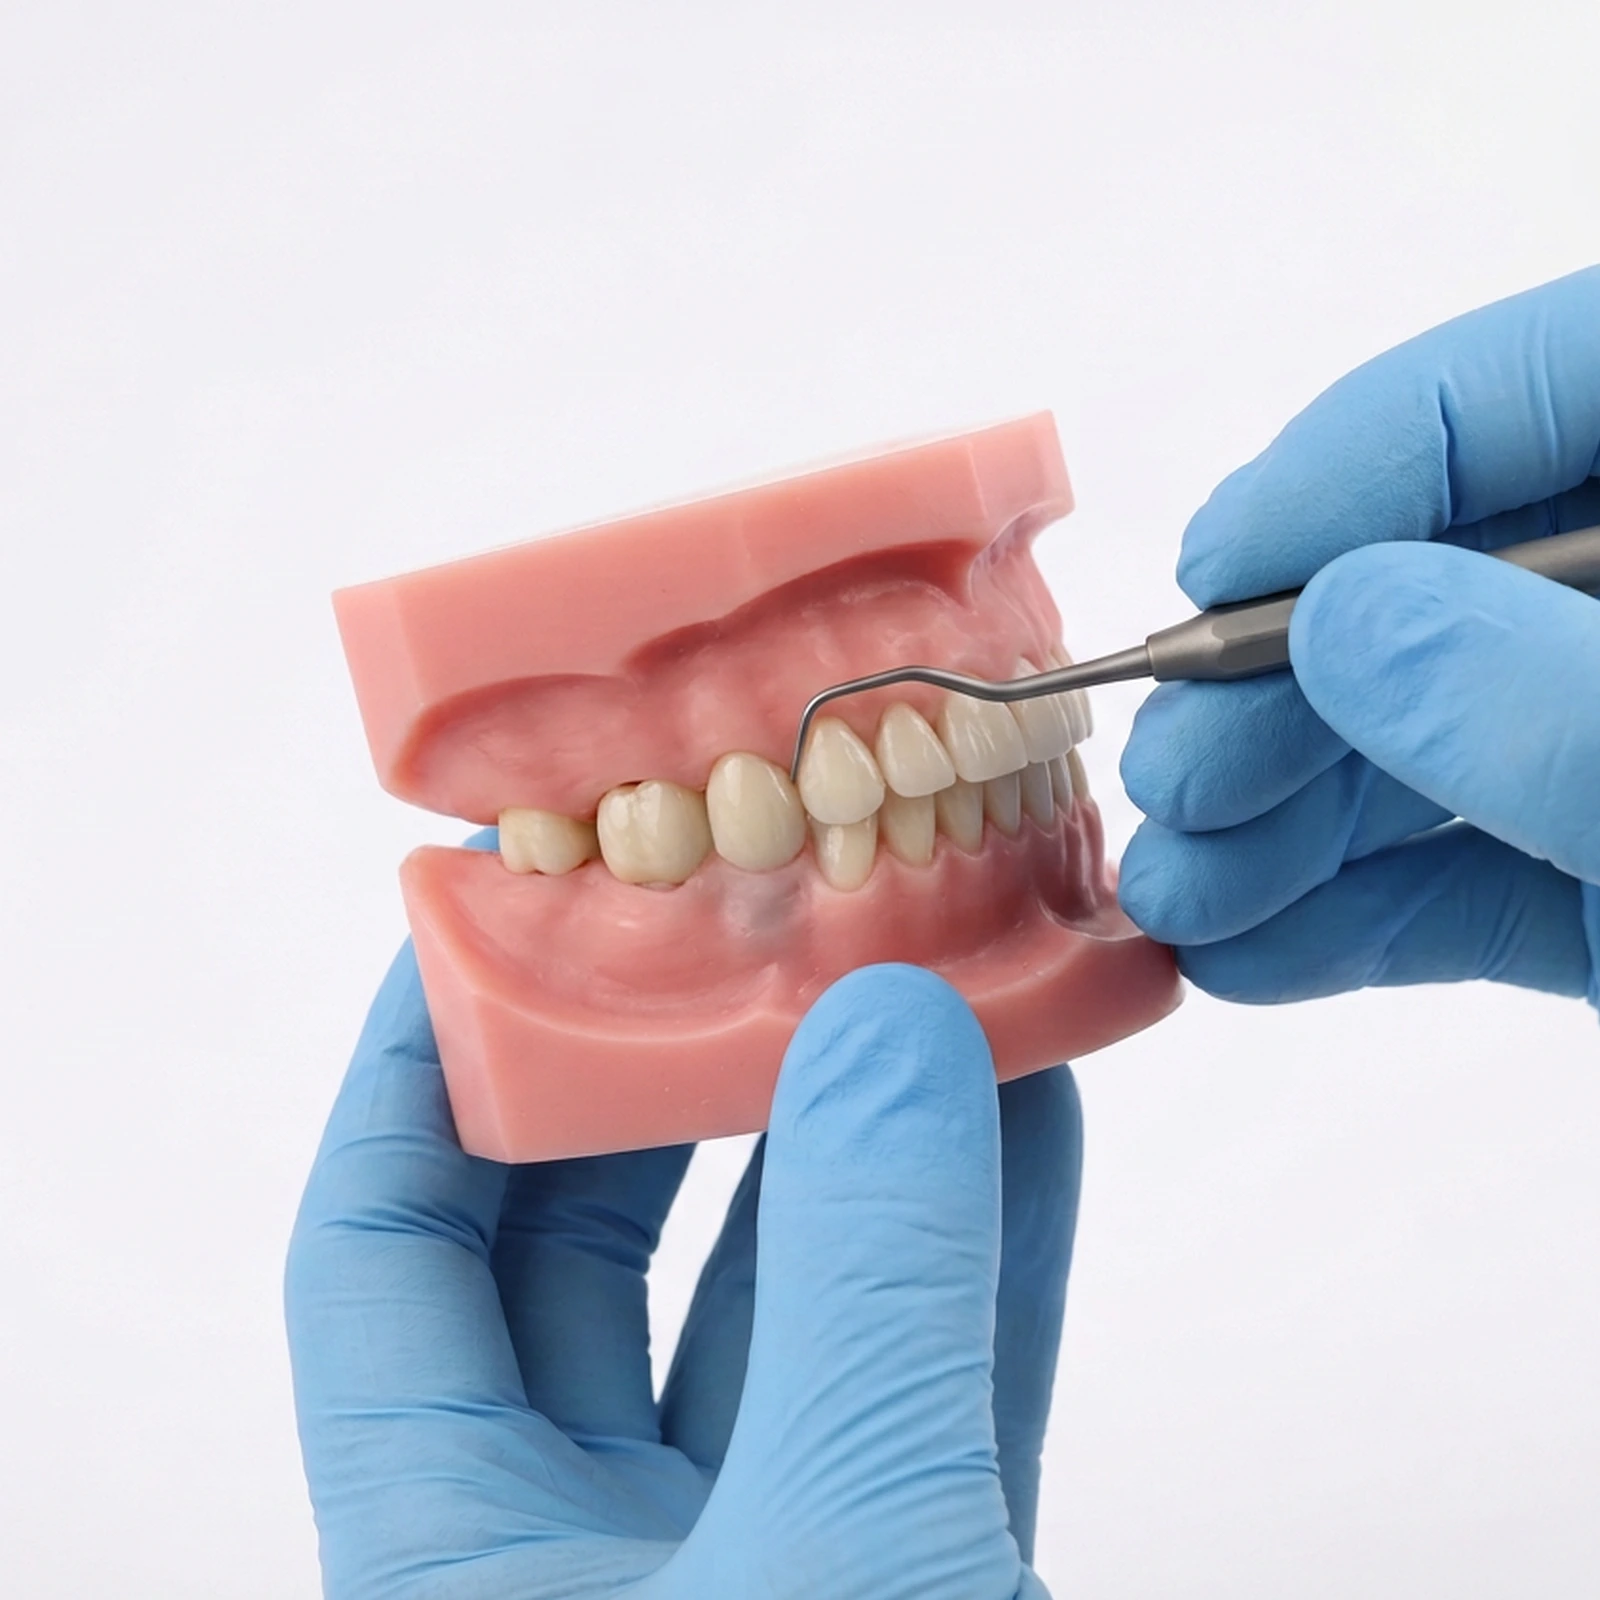
Professional maintenance
Professional maintenance is an assessment first and an instrumentation second. Where biofilm or calculus has formed around the restoration, it is removed with instruments and techniques suited to the implant and restorative surfaces in front of the clinician, which is not always what is reached for around a natural tooth. What is used, and how, is a clinical decision made chairside rather than one this page prescribes.
An instrument that scores the implant or abutment surface creates a rougher surface than it removed. The choice of instrument is made for the surface being cleaned, not out of habit.
-
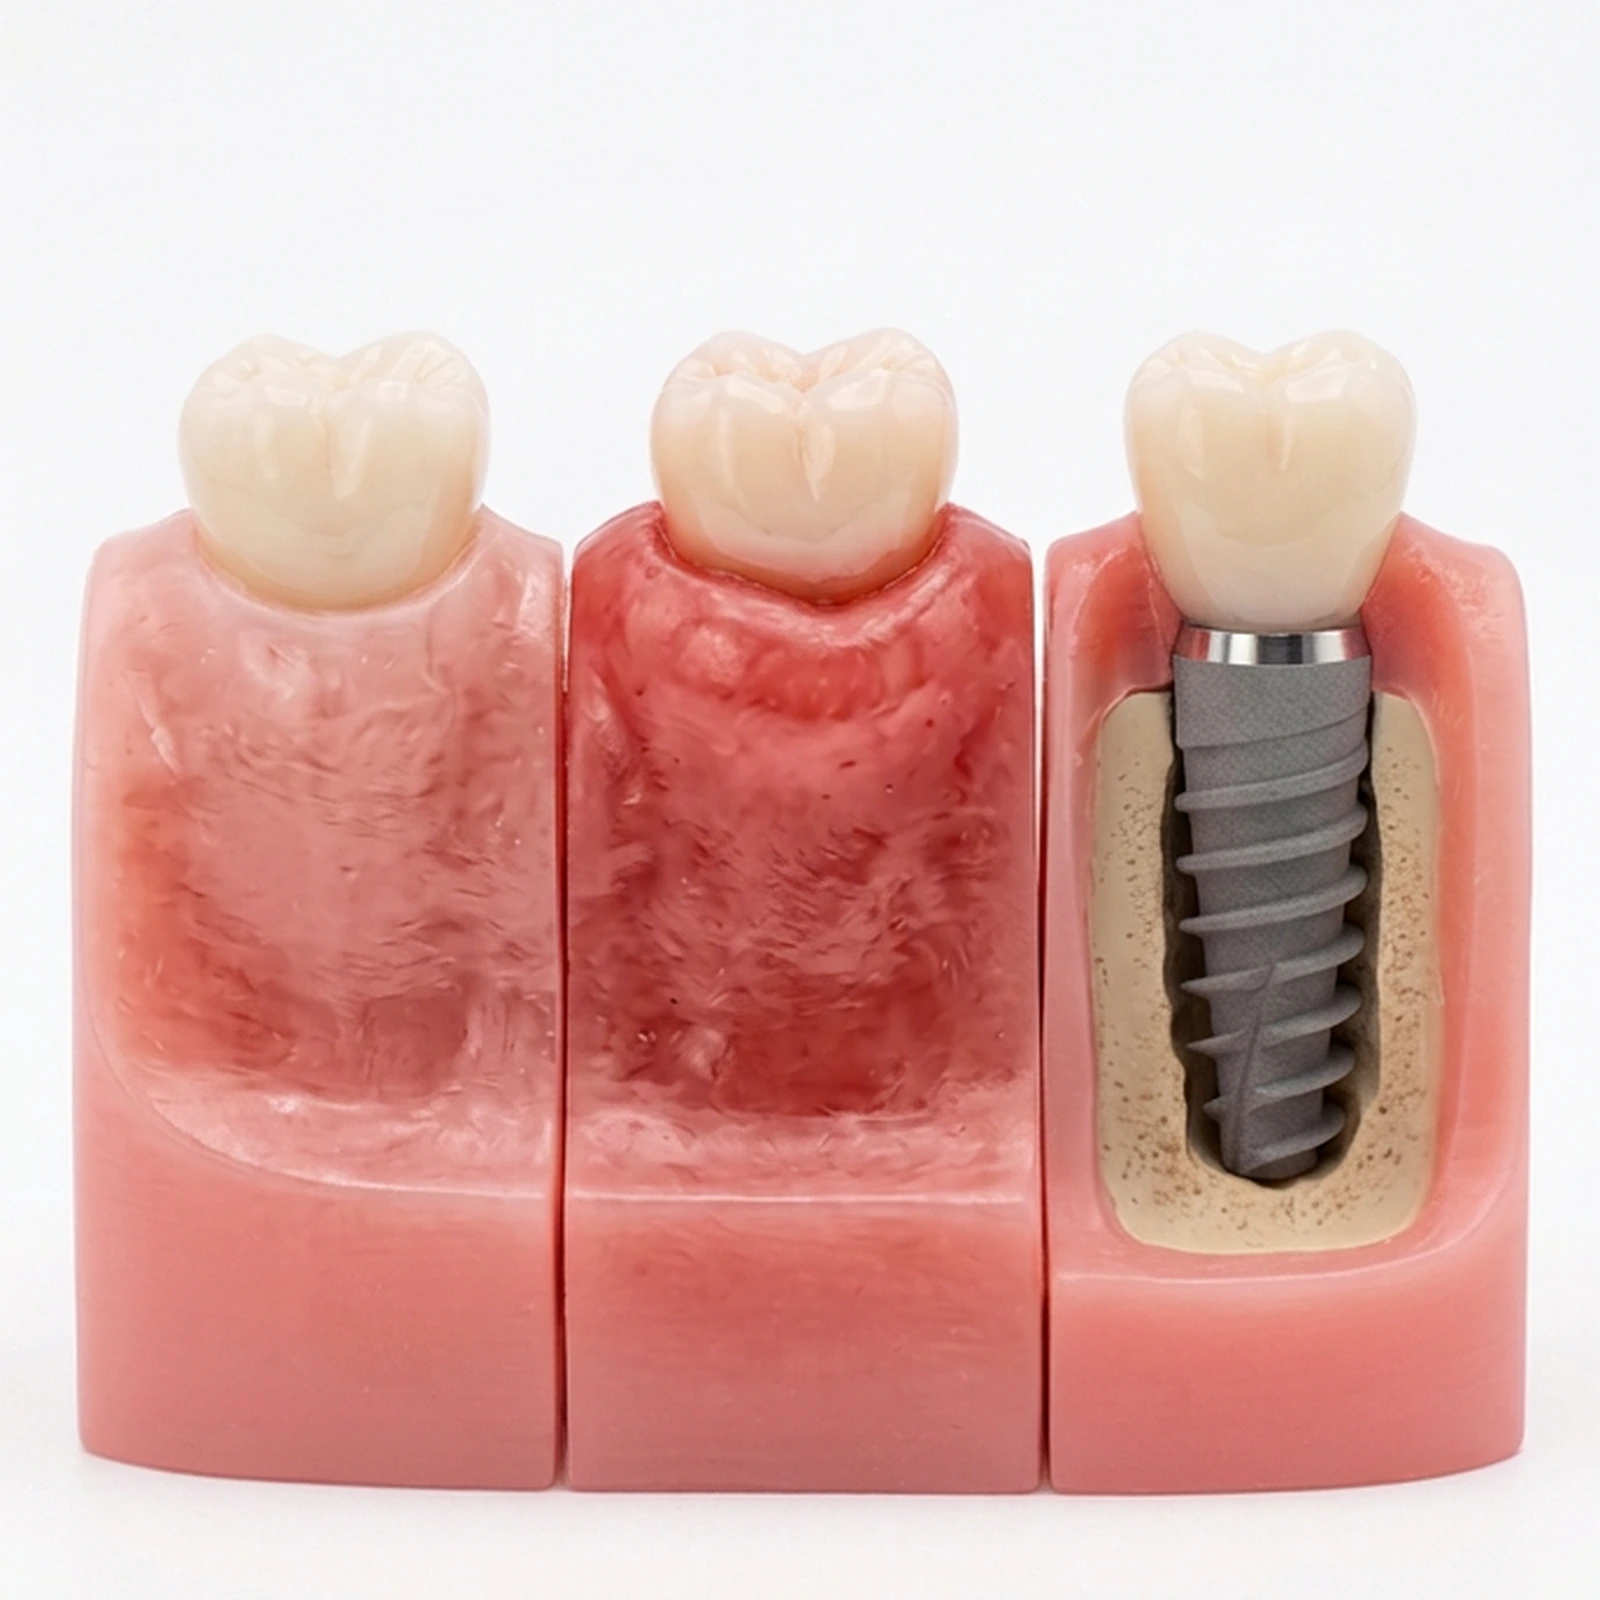
Healthy implant against peri-implant disease
The examination at recall is reading for one of three pictures. Healthy peri-implant tissue shows firm, non-bleeding soft tissue over a stable bone level. Peri-implant mucositis is inflammation confined to the soft tissue, without progressive loss of the supporting bone, and it is reversible with the professional and home care already described. Peri-implantitis is that same inflammation together with progressive bone loss, and it is the finding that moves a case from maintenance into further treatment.
-
Radiographic monitoring
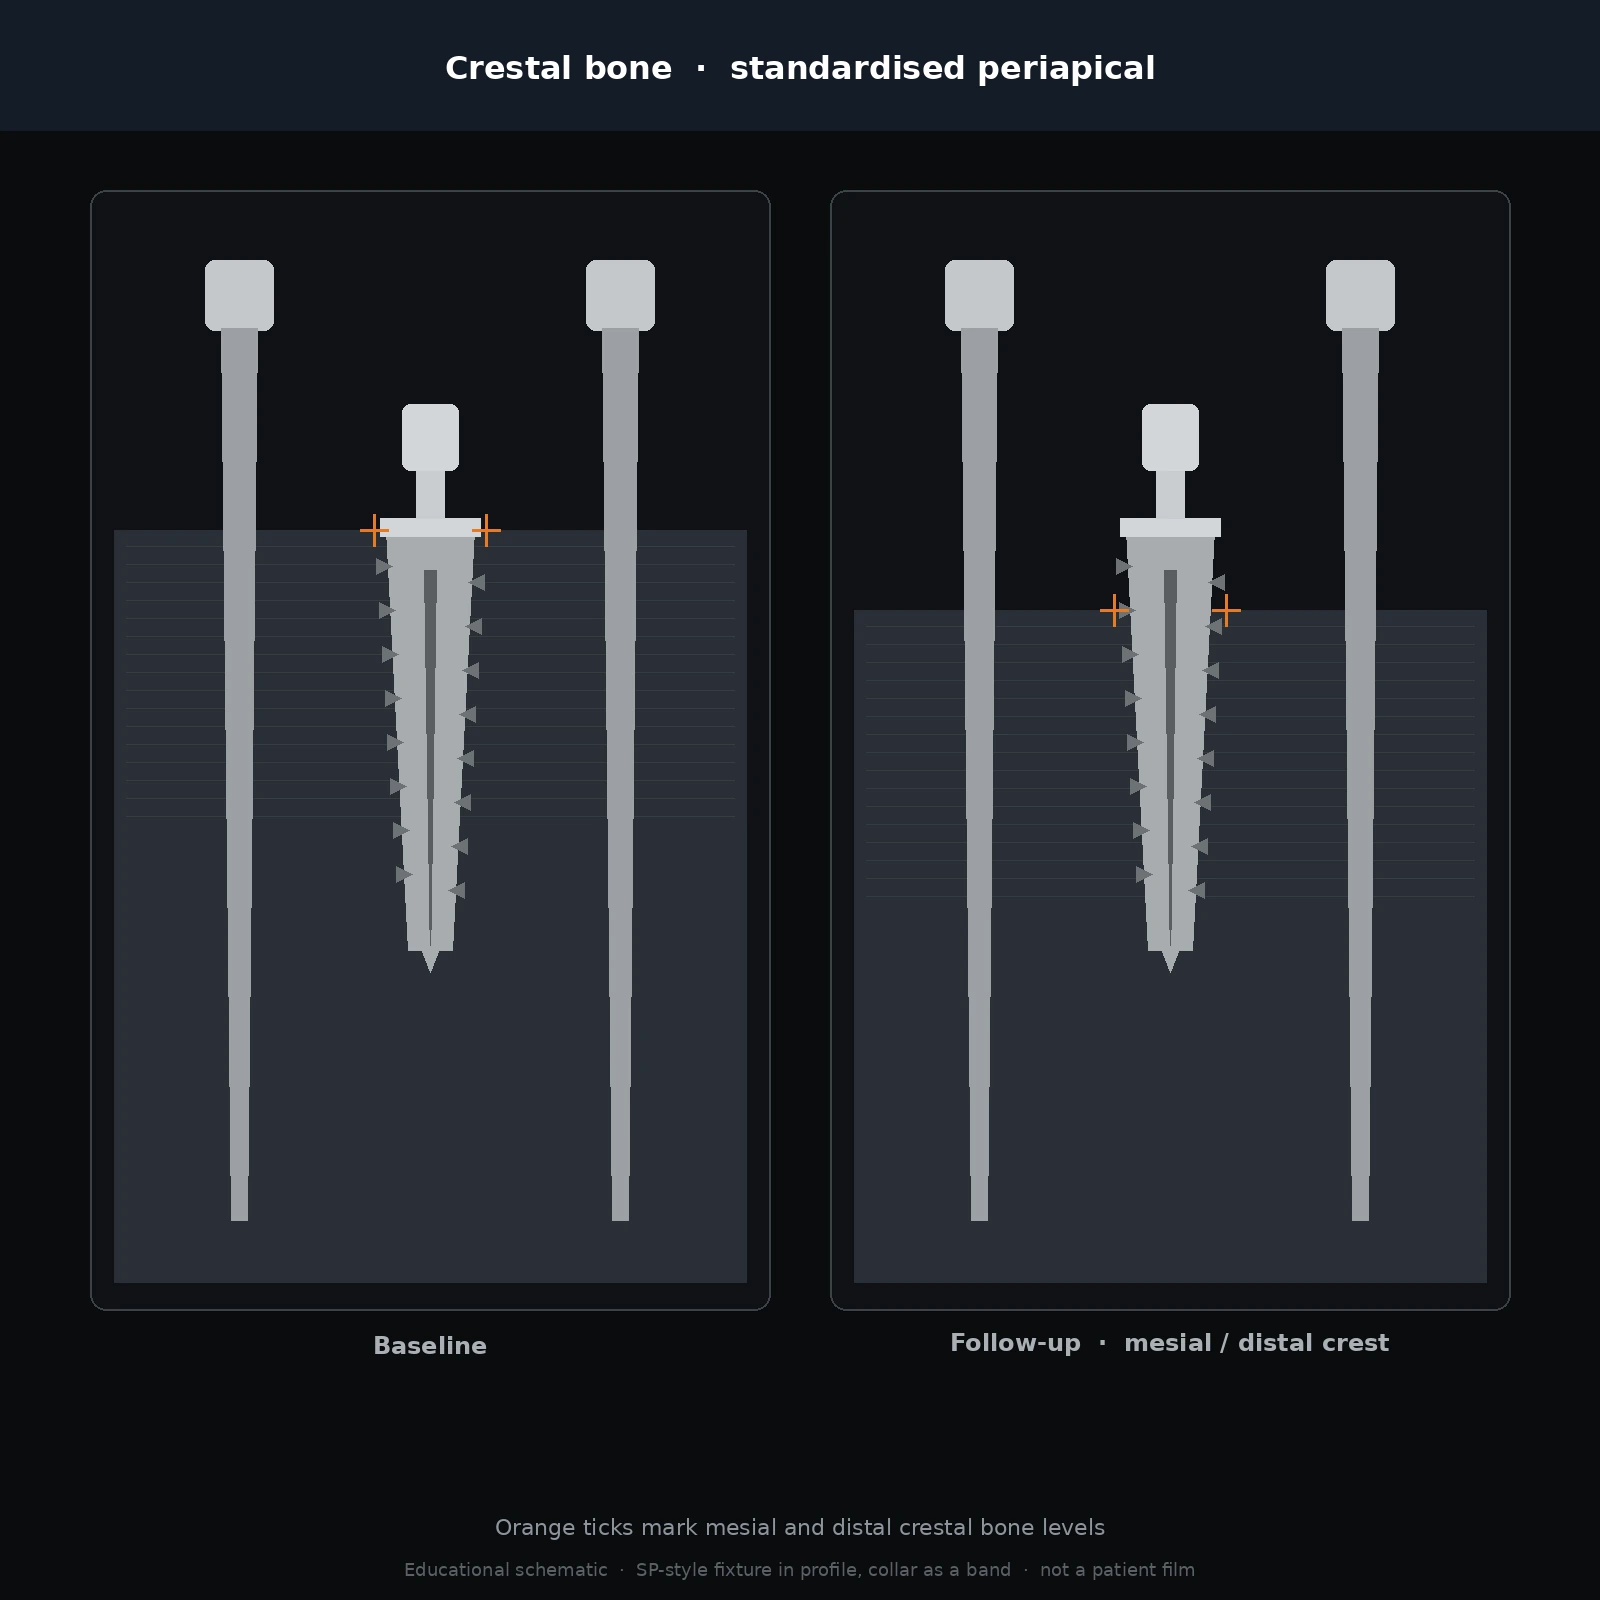
A radiograph is taken as part of the clinical picture when the examination indicates it, not at every maintenance visit as a matter of routine. A standardised periapical view, taken and angled consistently, lets the mesial and distal crestal bone levels be read against a baseline from placement or an earlier review, which is what turns a single image into evidence of change rather than a snapshot on its own.
-
When further clinical evaluation is required
Most findings at recall are managed within the maintenance visit itself. A smaller set calls for evaluation beyond it, and a patient should know to bring these back to the practice between scheduled visits rather than wait for the next one.
- Persistent inflammation or bleeding
- Suppuration
- Increasing discomfort
- Mobility of the prosthesis or a component
- Fracture or chipping of the restoration
- Difficulty maintaining hygiene at the site
- Suspected progressive bone loss
02 More guides
The rest of the series.
The placement sequence stage by stage, from treatment planning through to the prosthetic phase.
Open How to use prostheticsWhich component set belongs to which connection, how to read an article code, and the order a restoration is assembled in.
Open Extraction and site preparationHow a site is assessed, prepared and timed before an implant goes into it.
Open