

i-Fix Education
Extraction and site preparation.
How a site is assessed, prepared and timed before an implant goes into it.
For qualified clinicians. This guide explains how the i-Fix system is organised. It does not replace the Instructions for Use supplied with each product, which carries the complete instructions, precautions and clinical use information.
This page covers what i-Fix publishes about preparing a site: what the assessment settles, what the surgical kit contains, what governs the drilling sequence, and how the timing decision is framed. Extraction technique itself belongs to the treating surgeon and is not prescribed here, and no figure on this page replaces the Instructions for Use or the drilling chart supplied with the kit.
- Assess the site
- Decide the timing
- Extract and read the socket
- Assess the socket
- Graft if the socket needs it
- Open the osteotomy
- Follow the chart
- Place or defer
How it works
Each stage names what happens and the one thing that most often goes wrong there. Numbers stay in the IFU, where they can be revised without a stale copy living on a web page.
-
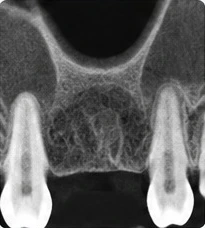
The assessment settles more than the implant size
Before anything is lifted or removed, the site is read clinically and radiographically. The measurements taken here decide the diameter and length, but they also decide the harder question underneath, which is whether the implant goes in at the same visit or waits. Bone volume, the condition of the walls around the tooth and the state of the soft tissue over it are what that decision rests on.
- Available bone height and width
- The condition of the socket walls, particularly the buccal plate
- Bone quality, and the soft-tissue and periodontal phenotype at the site
- Presence of infection or pathology at the site
- Adjacent roots and the anatomical structures near the site
- The restoration planned above it, which sets a prosthetically driven implant position
-
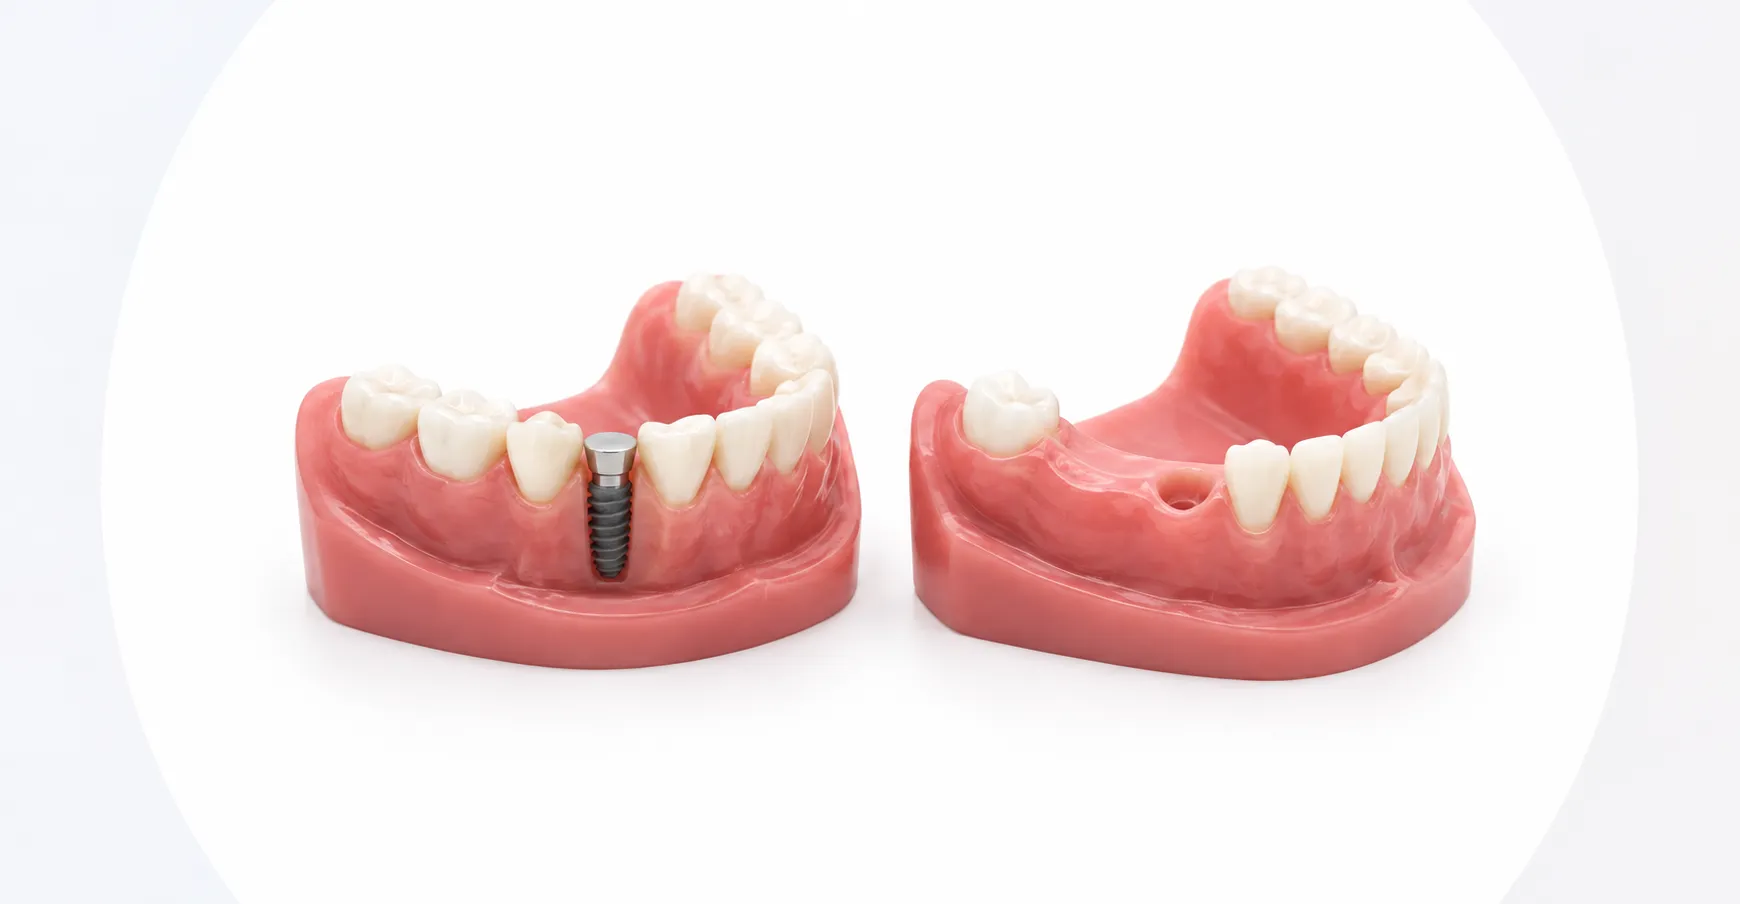
Timing is a clinical judgement, not a protocol
An implant can be placed into a fresh extraction socket at the same visit, or the site can be left to heal and the implant placed later. Both appear in the case records published on this site, and which one suits a case is decided by the surgeon from the socket in front of them rather than from a rule. What i-Fix supplies is the same either way: the implant, the kit and the chart do not change with the timing.
- Socket wall integrity, particularly the buccal plate
- Available apical and septal bone beyond the socket
- Whether adequate primary stability can be achieved
- The condition of the soft tissue at the site
- Whether the implant can be positioned correctly for the planned restoration
Pre-operative clinical and radiographic assessment establishes the provisional plan. After extraction, direct evaluation of the socket confirms whether the planned immediate placement remains appropriate.
-
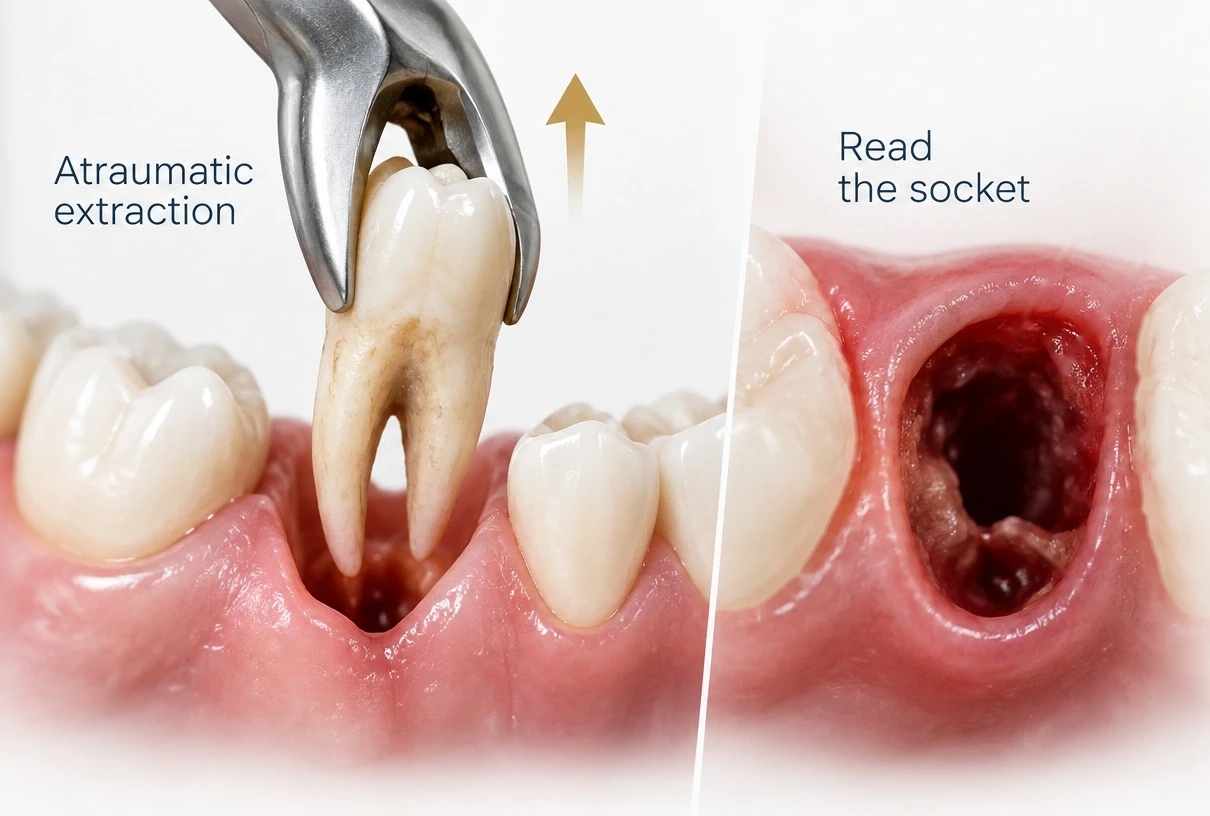
Extract atraumatically, and read the socket
The technique used to remove the tooth is the surgeon’s, and this page does not prescribe one. What matters to what follows is the state the socket is left in, because the walls that remain are what an immediately placed implant engages and what a graft, if one is used, has to be contained by. Thorough debridement of the socket, removing all granulation and pathological tissue, and a visual inspection of every socket wall come before the timing decision is confirmed. A multi-rooted tooth may be sectioned and removed root by root where that reduces trauma to the surrounding socket walls. The published case records on this site show teeth removed atraumatically for exactly that reason.
A wall lost during removal changes the plan that was made before it. Reassess with the socket open rather than proceeding on the pre-operative plan.
-
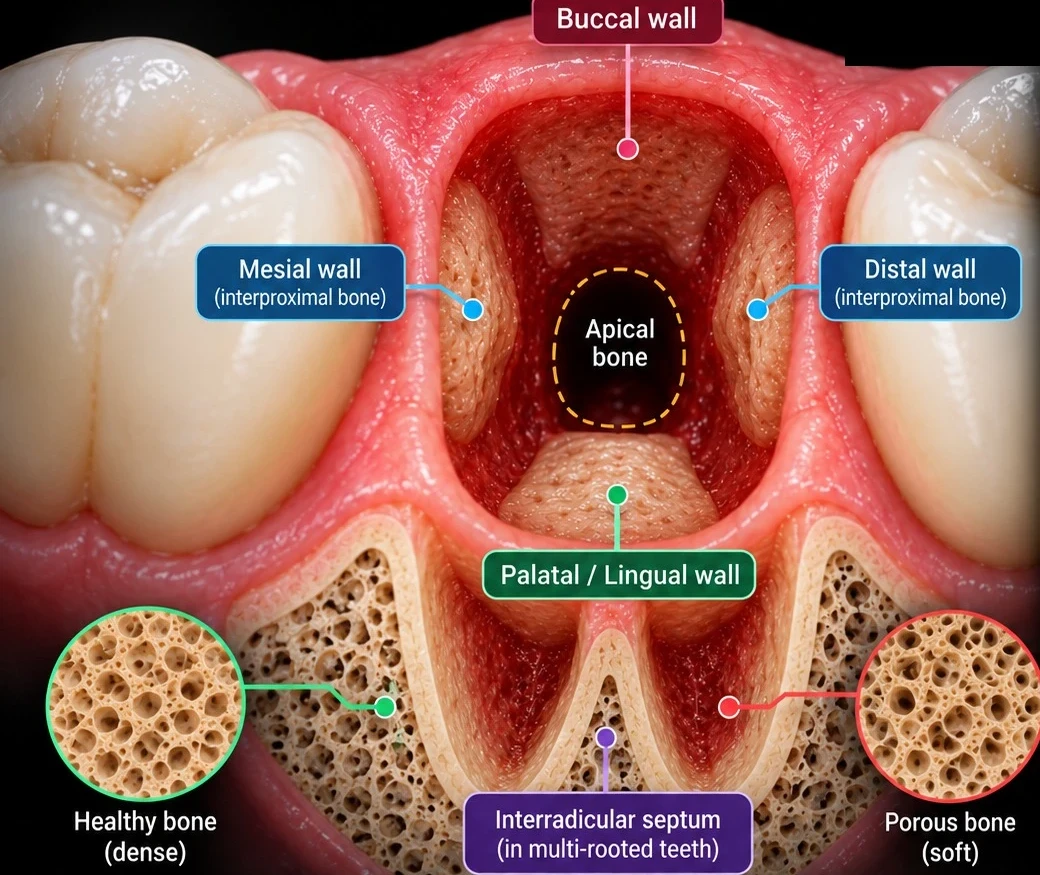
Assess the socket
With the tooth out, the socket itself is the primary source of information, more reliable than any image taken beforehand. Each wall and the bone beyond it are checked in turn before the timing decision made earlier is confirmed or revised.
- Buccal plate integrity
- Palatal or lingual wall integrity
- Interproximal bone height
- Available apical and septal bone
- Pathology or granulation tissue remaining in the socket
- Soft-tissue condition
- Whether primary stability can be achieved in the planned position
-
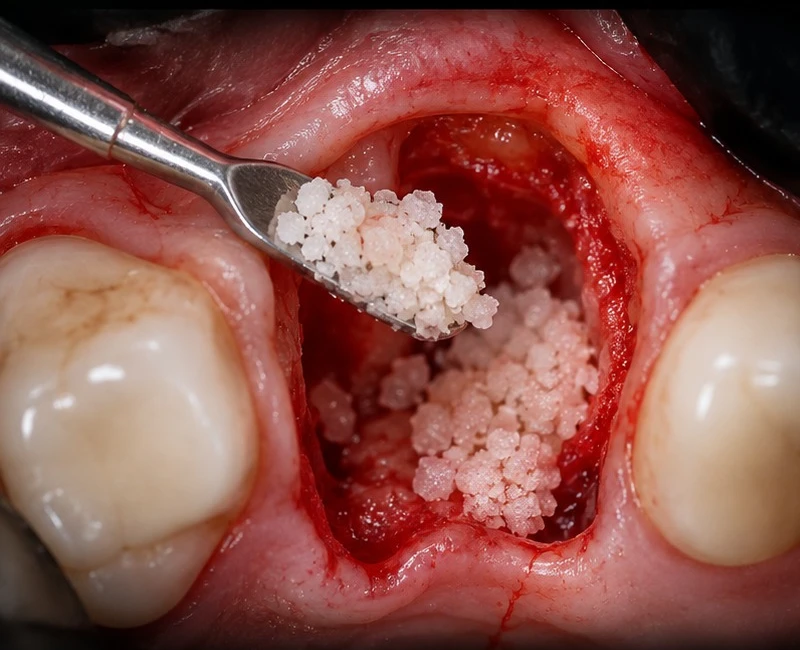
Graft where the socket needs it
A wall that is deficient, or a gap left between the implant and the socket wall once it is placed, is not left to fill on its own. Grafting or augmentation material is placed to contain the defect and support the tissue that will form around the eventual restoration. The material and the technique are the treating surgeon’s decision, taken from the defect in front of them, and are not prescribed here.
Grafting answers a deficient socket. It does not answer a socket that cannot hold the implant in the planned position, which is a timing decision, not a materials one.
-
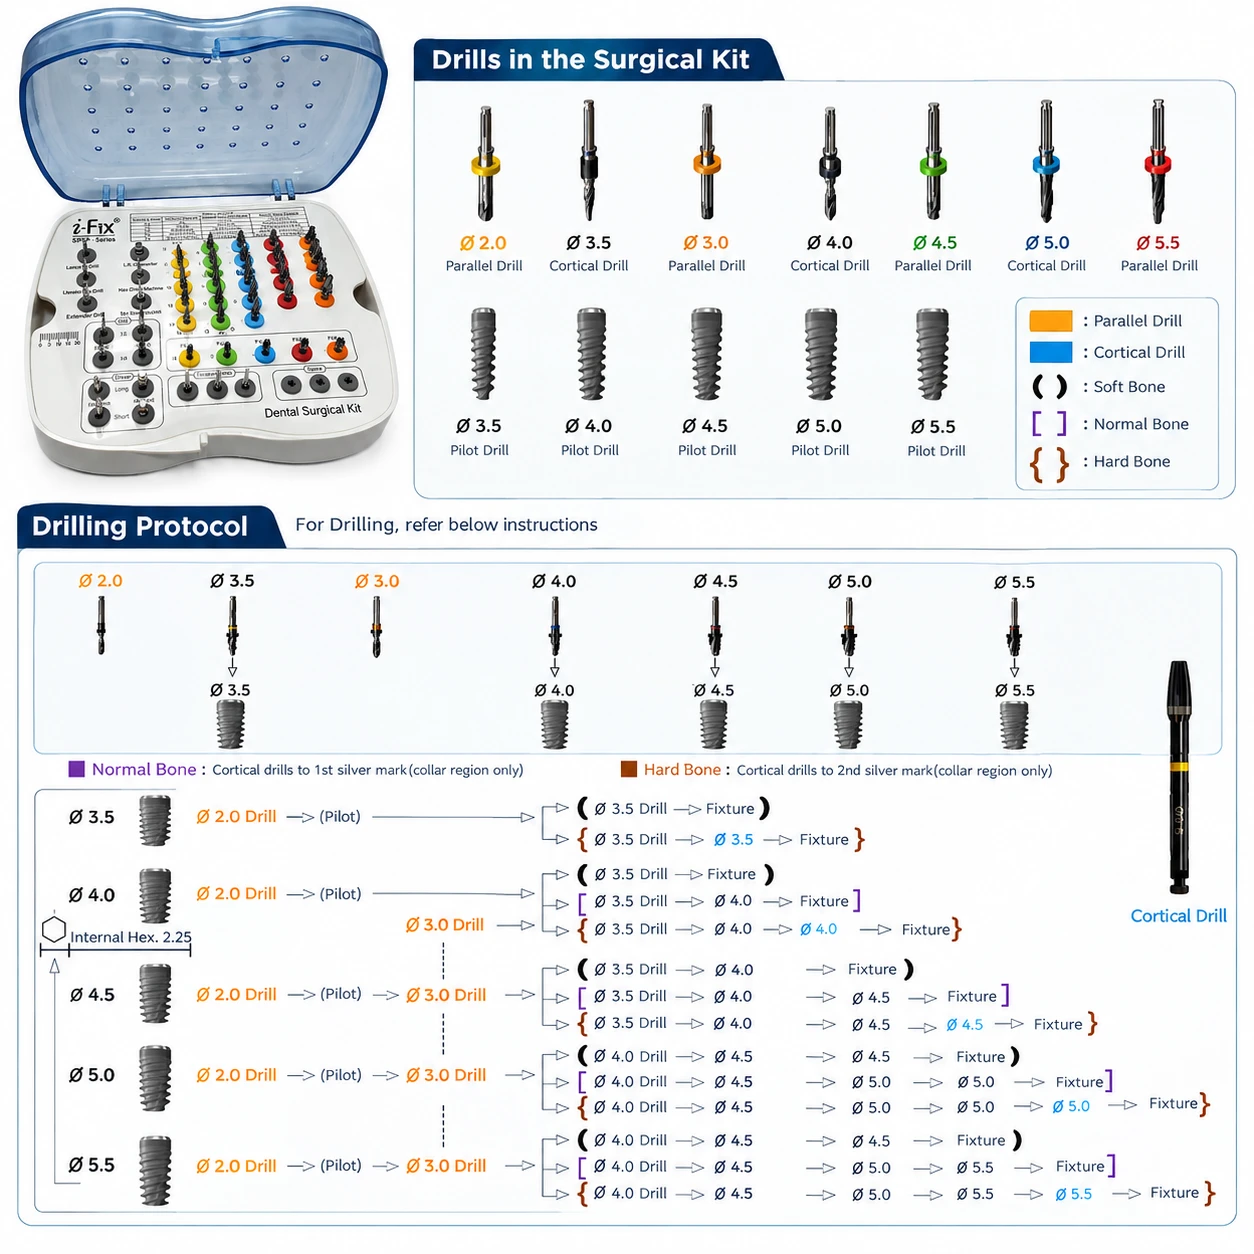
Check the tray against the chart
Every i-Fix surgical kit carries the drilling sequence for the series it serves, and the drills sit in the tray in the order the chart prints them. The kit holds a lance drill, a pilot drill, step drills, paralleling pins, cortical drills and the implant drivers for that platform. Confirm the tray in front of you and the chart for the system you are placing agree before the first drill enters bone.
A tray restocked with a drill from another series is the failure this check exists to catch. If the tray and the chart disagree, stop.
-
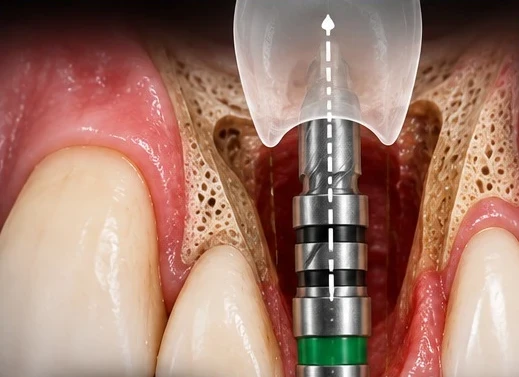
Open the osteotomy to the plan
Preparation stays prosthetically driven. It follows the position the restoration needs, not the empty socket in front of the drill, which in a fresh extraction site is usually the path of least resistance and rarely the path the prosthesis needs. Mark the entry point, open with the pilot drill for the selected system, and check the angulation with a paralleling pin before committing further. The sequence then continues by diameter and by bone density, from the chart for that series.
- Mark the planned implant position
- Open the initial osteotomy with the pilot drill for the selected system
- Check angulation and direction with a paralleling pin
- Continue the sequential preparation for the chosen diameter and the bone condition
- Follow the irrigation and drilling recommendations specified in the applicable i-Fix surgical protocol/IFU
In a fresh socket the drill wants to follow the empty socket rather than the planned axis. That is the moment angulation is most often lost.
-
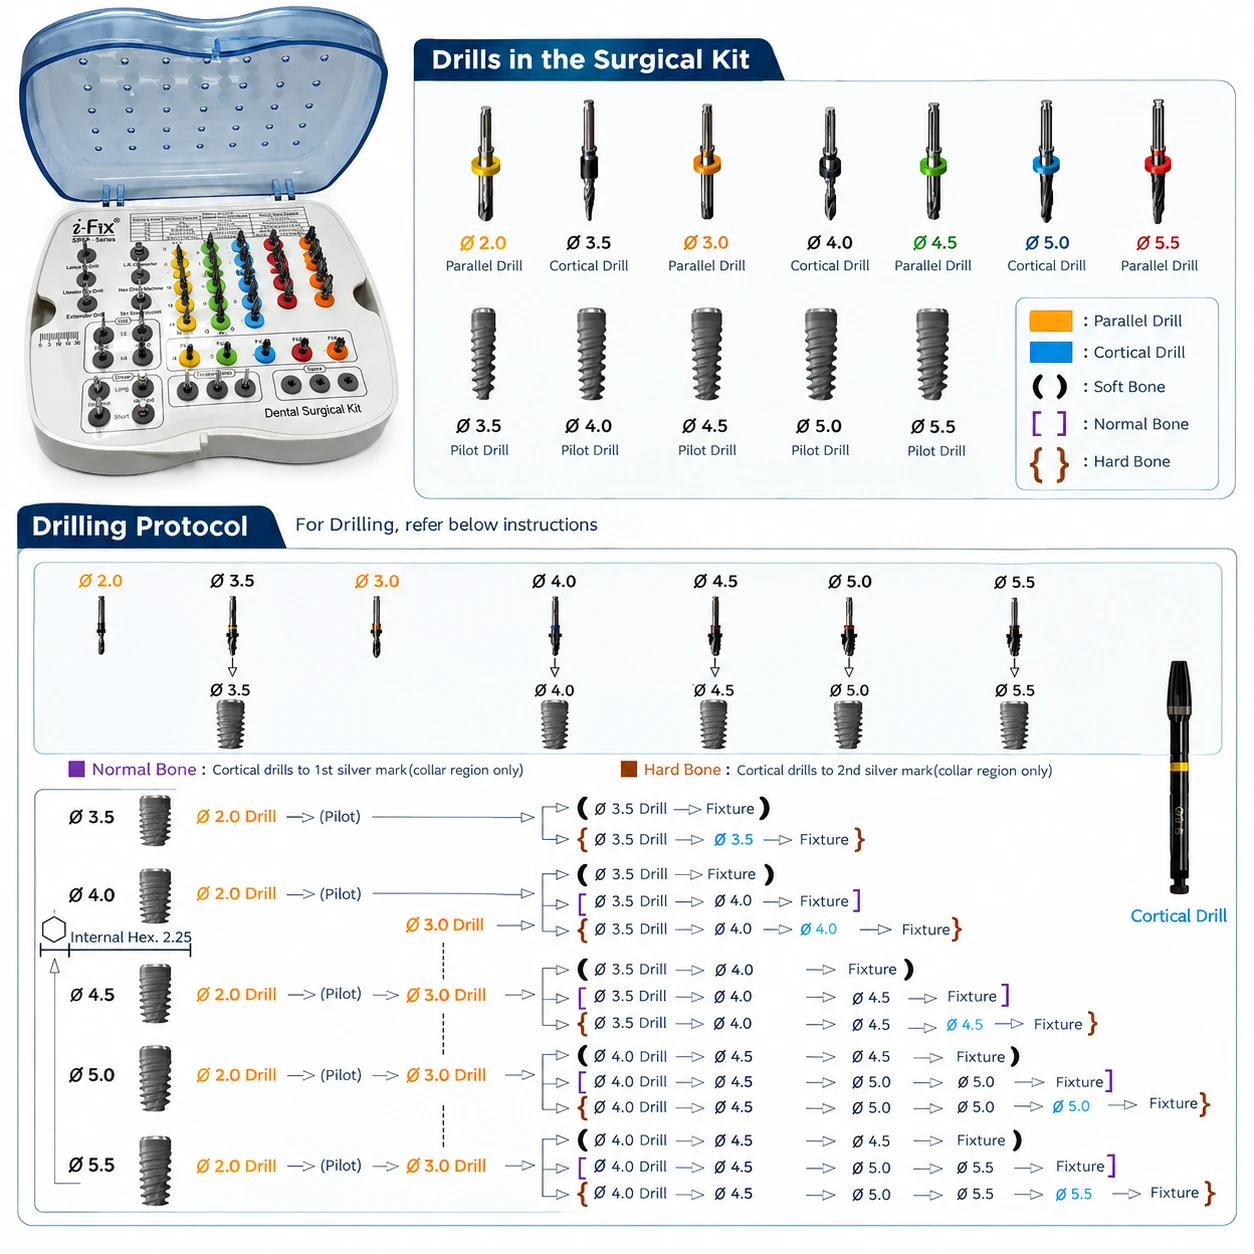
The chart governs the sequence
Each series has its own drilling chart, and the sequence on it changes with both the implant diameter and the density of the bone. The brochures separate soft, normal and hard bone, because an osteotomy prepared correctly for dense bone leaves a soft site with little to hold on to. Take the sequence from the current approved chart for the system being placed. There is no single sequence that covers every implant, and this page deliberately does not print one.
Departing from the recommended drilling sequence may increase drilling resistance, heat generation or insertion torque depending on bone density and osteotomy preparation.
-
Place or defer
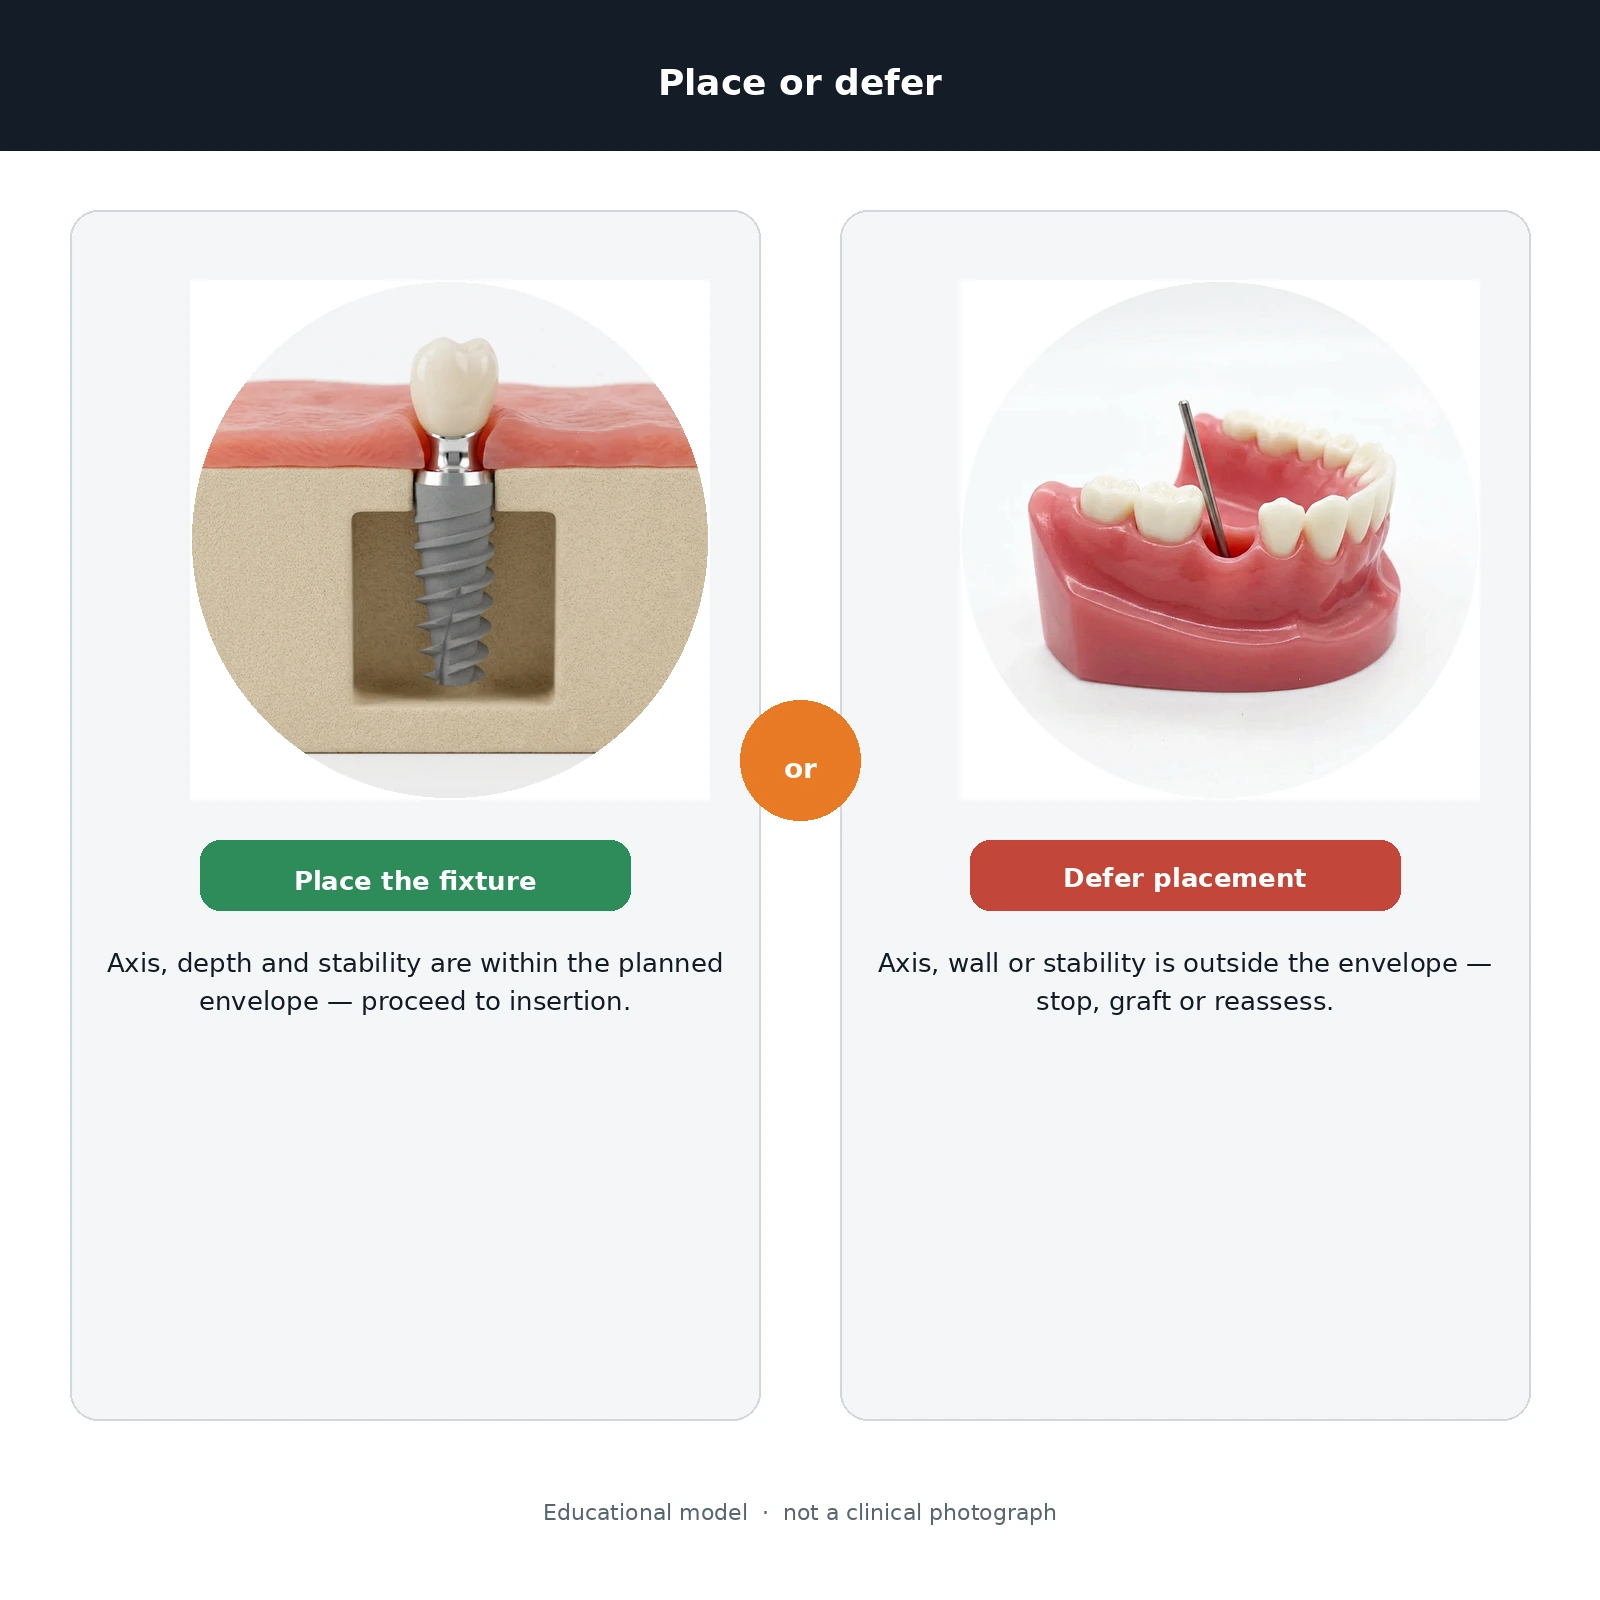
The osteotomy prepared, the decision returns to the socket assessed earlier. The implant is placed only if adequate primary stability can be achieved in the position and diameter the restoration requires. Implant position or diameter is not compromised simply to manufacture a stability reading. Where the site does not support that position, the socket is grafted or allowed to heal, and the implant placed later.
An implant placed in the wrong position or the wrong diameter to chase a stability reading is a problem the restoration inherits permanently.
02 More guides
The rest of the series.
The placement sequence stage by stage, from treatment planning through to the prosthetic phase.
Open How to use prostheticsWhich component set belongs to which connection, how to read an article code, and the order a restoration is assembled in.
Open Hygiene and maintenanceWhat the implant and its components are made of, and what that means for cleaning and recall.
Open