
On this page 9 sections
- What a dental implant is, in parts
- Types of dental implant connections, explained
- The body: thread design is a bone-quality decision
- Dental implant surface treatment technology, and what it claims
- The material: why the specification says ELI
- The dental implant manufacturing process, briefly
- How the range divides the clinical ground
- The surgical kit, and why the drilling sequence is published
- How to choose a dental implant system, in the order the questions arrive
This is a working guide to dental implants for dentists choosing a system for a practice, rather than an introduction to implant treatment. A dental implant system is three things a clinic buys separately and has to make work together: the implant that goes into bone, the abutment that connects it to the restoration, and the surgical kit that prepares the site. Choosing a system means choosing all three at once, and living with the consequences for as long as the patients you treat with it keep their restorations. This piece explains what each part actually does, what the numbers on a specification describe, and how the i-Fix range divides the clinical ground.
What a dental implant is, in parts
The implant body, sometimes called the fixture, is a titanium screw placed into the jaw to replace a tooth root. Bone grows against it and locks it in place, a process called osseointegration. On a two-piece system, a separate abutment is then screwed into the top of the implant, and the crown, bridge or denture attaches to that abutment. On a one-piece system, the implant and the prosthetic post are machined as a single component, so there is no joint between them at all.
That single difference drives most of the rest. A two-piece implant can be buried under the gum to heal and uncovered later, and the abutment can be swapped if the restorative plan changes. A one-piece implant is simpler, has no screw joint to loosen and no microgap at bone level, but the prosthetic angle is fixed at the moment of placement.
Single stage vs two stage dental implants
These terms describe the surgery, not the implant. In a two-stage protocol the implant is placed, a cover screw is fitted and the gum is closed over it to heal undisturbed; a second small procedure later uncovers it and fits a healing abutment. In a single-stage protocol the implant is placed with a healing abutment already through the gum, so there is no second surgery. Two-piece implants can be used either way. One-piece implants are single-stage by construction, since the post is already there.
The choice usually comes down to primary stability and soft tissue. Where the implant is firm at placement and the tissue will close predictably, a single stage saves the patient an appointment. Where stability is marginal or the site has been grafted, burying it removes the risk of loading it early.
Types of dental implant connections, explained
The implant-abutment connection is the interface between the fixture and everything that will ever sit on it. Two things happen there. A conical taper wedges the abutment into the implant and carries the load, and a hexagonal socket stops it rotating. The specification for a connection is usually given as three figures: the width of the hex across flats, the angle of the taper, and the thread size of the screw that holds it together.
| Platform | Hex across flats | Taper | Screw | Series on it |
|---|---|---|---|---|
| NP connection | 2.25 mm | 12° Morse taper | M1.6 | IP Series, AK Series |
| RP connection | 2.50 mm | 11° Morse taper | M2.0 | SP Series, S-Fix Pro, AK* Series |
| IP connection | 2.45 mm | 45° Morse taper | M1.8 | IP+ Series |
| ZE connection | 2.25 mm external hex | M1.6 internal | M1.6 | ZE Series |
| One-piece | No connection | — | — | B Series, C Series |
Read that table as an inventory decision rather than an engineering one. Components are cut for the connection, not for the series. An abutment made for the NP connection seats on any NP implant in the range and will not seat on an RP implant, which means a clinic placing across the bone-level range holds two component sets rather than one per product line. It also means the two platforms overlap almost entirely on diameter: NP spans 3.5 to 5.5 mm and RP spans 3.6 to 6.0 mm, so the platform name is not telling you how wide the implant is. It is telling you which abutment will fit.
The body: thread design is a bone-quality decision
Two implants of the same diameter and length can behave completely differently at insertion, and the thread is why. The i-Fix range carries three distinct body philosophies, and each is aimed at a different bone situation.
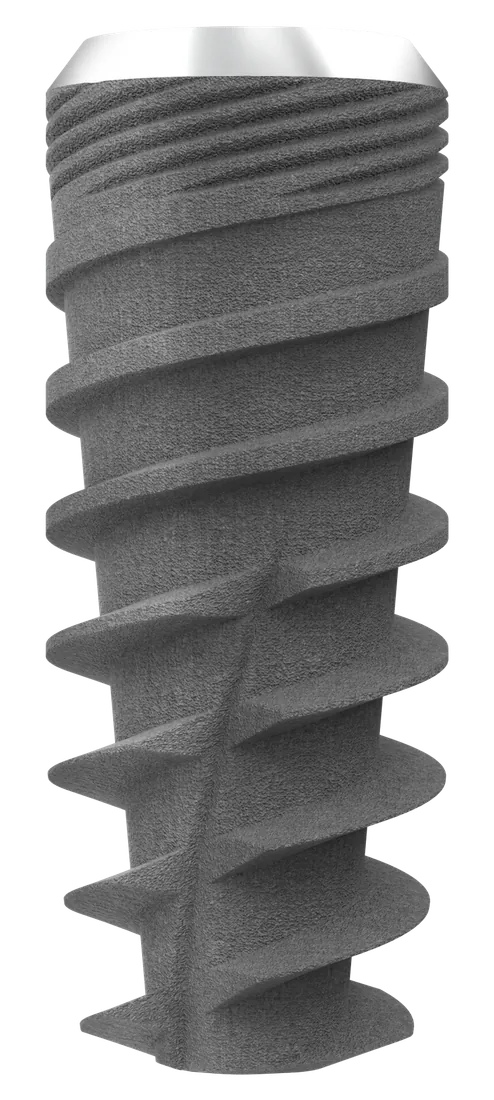
The IP and SP Series share this design. The taper expands down the body and the thread runs as two starts with a varying profile, which condenses bone progressively as the implant goes in and lets the surgeon adjust orientation while seating it. A backtapered coronal region preserves bone volume around the platform, and twin cutting flutes plus twin apical cutting blades let it enter a minimally prepared site.
.webp)
The AK Series varies thread depth along the body and squares the thread profile at the crest, which reduces shear stress at crestal bone level. A concave apex with active cutting elements collects host bone chips during insertion rather than discarding them. The design is aimed at low-density bone and immediate placement, where cutting precisely while compacting the surrounding bone is what buys primary stability.
The one-piece bodies take a third approach. The C Series is a compressive design that condenses soft cancellous bone through a deliberately minimal osteotomy, specified for narrow ridges and immediate loading. The B Series is bicortical, made in a single 3.6 mm diameter across eight lengths from 8 to 26 mm, so it can engage two cortical plates in a thin ridge, and its prosthetic segment is bendable. Its surface is polished rather than roughened, specifically so it can be placed into infected sockets with less for bacteria to hold onto.
Dental implant surface treatment technology, and what it claims
An implant surface coating sold on faster osseointegration is making a specific and checkable claim, so it is worth knowing what it rests on. A machined titanium surface will integrate. A treated one integrates faster and forms more bone-to-implant contact, and the difference is entirely about topography and surface chemistry at a scale you cannot see. Roughening the surface increases the area available for bone to attach to, and modifying the surface charge and nanotopography changes how proteins and then cells settle onto it in the first hours after placement.
The i-Fix bone-level range carries a Nano Bio Activated surface developed with Psilox AB in Uppsala, Sweden. The AK Series specification describes it as a bioactive surface produced by nanotopography and surface-charge modification, which is a more useful sentence than "advanced surface" because it names the two mechanisms. When you are comparing systems, the question that separates a real specification from a claim is whether the manufacturer will tell you what was done to the surface and whether it differs by region of the implant.
The material: why the specification says ELI
Every two-piece i-Fix body is machined from ASTM F136 ELI Grade 5 titanium alloy. Grade 5 is titanium with aluminium and vanadium added, which is considerably stronger than commercially pure titanium. ELI stands for extra low interstitials, meaning the oxygen, nitrogen and carbon content is held down, because those interstitial elements make the alloy harder and more brittle. For an implant that has to survive years of cyclic chewing load in a small cross-section, toughness matters as much as strength.
The published figures for the ZE zygomatic body give the shape of it: a minimum tensile strength of 860 MPa, 10% elongation, and oxygen at or below 0.13%. Those three numbers together are what the ELI designation is actually specifying, and a manufacturer that quotes them is reading from a material certificate rather than a brochure.
The dental implant manufacturing process, briefly
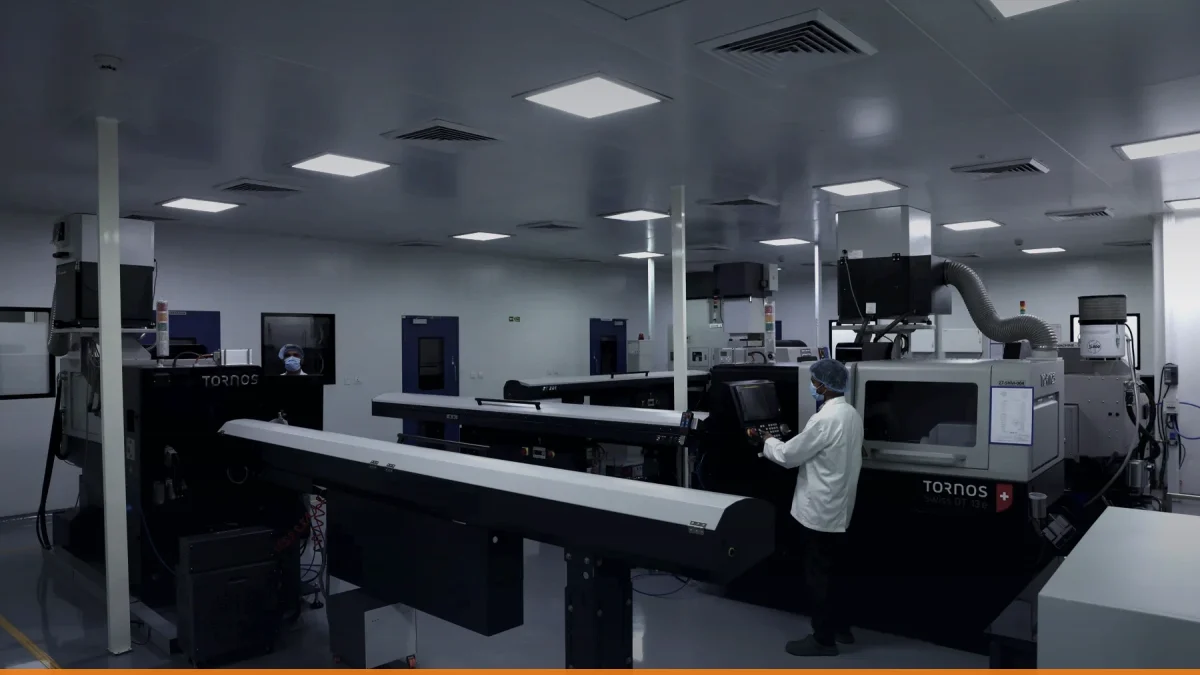
Knowing how an implant is made changes what you ask a supplier. The body is turned from titanium bar stock on a sliding-head machine, the machine class used for small, long, high-tolerance parts. It is cleaned and surface-treated in a clean room, because a surface treatment is only as good as the contamination control around it. Dimensions are verified against the drawing on an optical measuring machine. The implant is then packed, labelled and documented with a lot number that ties it back to the material certificate for that bar of titanium.
The third step is where manufacturers separate. Anyone can turn a titanium screw. Measuring every batch against the drawing, and keeping the record that lets you find it again three years later, is what an ISO 13485 quality system exists to do. When comparing Indian dental implant systems, ask which of those four steps the company performs itself and which are subcontracted.
How the range divides the clinical ground
Rather than ten systems competing for the same case, the range is organised around what the bone will allow.
| Situation | Series | Why |
|---|---|---|
| Routine bone-level restoration, adequate bone | IP Series (NP) or SP Series (RP) | Expanding taper and two-start thread; the choice between them is a platform and diameter decision |
| Low-density or soft bone, immediate placement | AK Series | Progressive high-angle thread compacts bone while cutting, aimed at primary stability where bone is poor |
| Narrow ridge, minimal osteotomy, immediate loading | C Series | One-piece compressive design that condenses soft cancellous bone |
| Thin ridge needing bicortical engagement, or an infected socket | B Series | One-piece bicortical, bendable prosthetic segment, polished surface |
| Atrophic maxilla where grafting is being avoided | ZE Series | Zygomatic anchorage, 30 to 62.5 mm, 55° angulated head for immediate fixed provisional |
| Anatomy no catalogue size fits | PSI Series | Designed from the patient's own CBCT and validated before manufacture |
The surgical kit, and why the drilling sequence is published
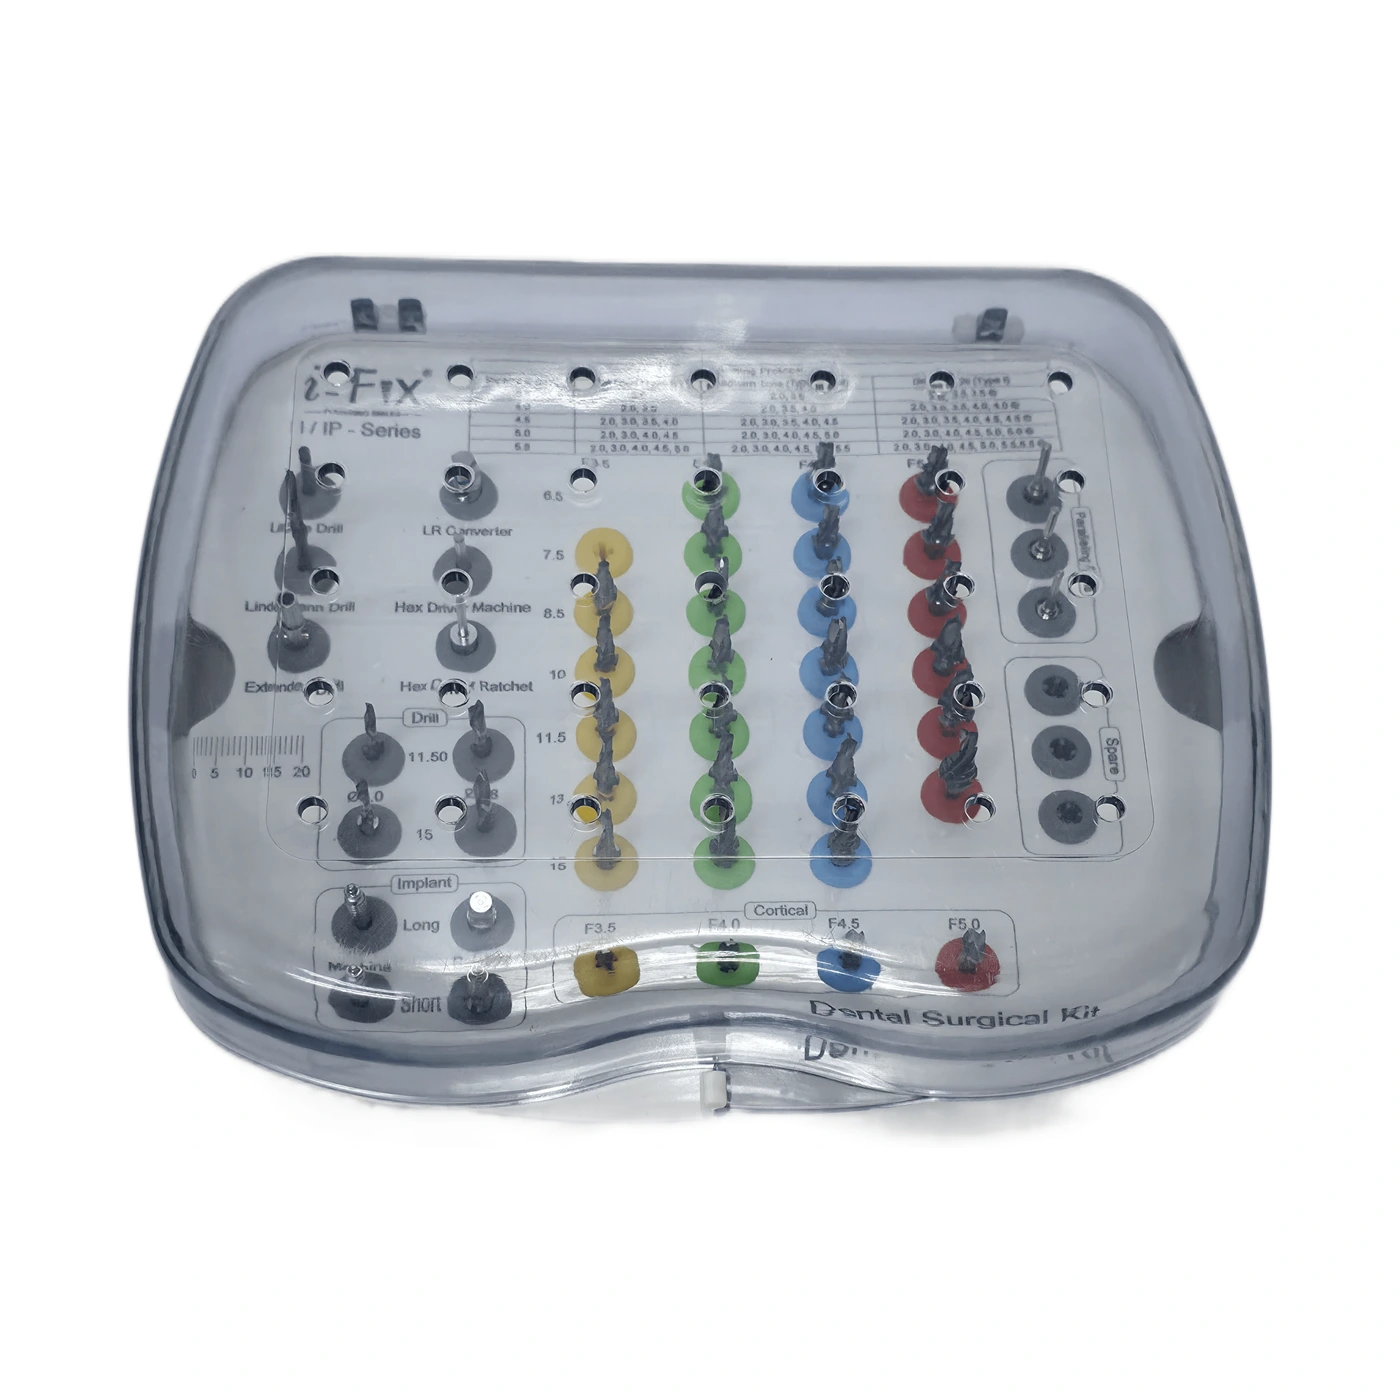
The kit is not an accessory. Each tray is built around a connection platform and a diameter envelope, and the drilling sequence inside it is what turns a specification into a placed implant. i-Fix has published drilling protocols since the portfolio was introduced in 2018, which is worth knowing because the sequence changes with bone density rather than with the implant alone.
| Implant Ø | Soft bone | Medium bone | Dense bone |
|---|---|---|---|
| 3.5 mm | 2.0 | 2.0 → 2.4 → 2.8 | 2.0 → 2.4 → 2.8 → 3.2 |
| 4.0 mm | 2.0 → 2.4 | 2.0 → 2.4 → 2.8 → 3.2 | 2.0 → 2.4 → 2.8 → 3.2 → 3.6 |
| 4.5 mm | 2.0 → 2.4 → 2.8 → 3.2 | 2.0 → 2.4 → 2.8 → 3.2 → 3.6 | 2.0 → 2.4 → 2.8 → 3.2 → 3.6 → 4.2 |
| 5.0 mm | 2.0 → 2.4 → 2.8 → 3.2 → 3.6 | 2.0 → 2.4 → 2.8 → 3.2 → 3.6 → 4.2 | 2.0 → 2.4 → 2.8 → 3.2 → 3.6 → 4.2 → 4.6 |
Read down a column and the logic appears. In dense bone the osteotomy is taken close to the implant diameter, because the bone will not yield and over-torquing it risks necrosis at the crest. In soft bone the site is deliberately under-prepared, sometimes to a single 2.0 mm pass, so that the implant condenses bone as it goes and gains its stability from the squeeze rather than from thread engagement in bone that has none to give.
How to choose a dental implant system, in the order the questions arrive
- 01 Decide the connection platform first
It determines every prosthetic component you will order for the life of the system, and it is the one decision that is expensive to reverse. Diameter is not the deciding factor: NP and RP overlap across almost their whole range.
- 02 Check the size envelope against your real caseload
A dental implant system for a dental practice has to cover the cases that practice actually sees. Look at the diameters and lengths you place, not the ones a catalogue leads with. IP spans 7.5 to 20 mm, SP spans 7 to 14 mm, AK spans 7 to 13 mm. If your posterior cases regularly need short implants, that is a different conversation from a range that starts at 8 mm.
- 03 Read the component list before you place the first order
Straight and angled abutments, multi-unit components, healing caps, impression copings, analogs and scan bodies all have article codes. If the list is not published, you are relying on the rep rather than the catalogue.
- 04 Confirm the surgical kit and the drilling protocol exist
A system without a published, diameter-matched sequence is asking every clinician to invent one.
- 05 Ask for the certificates by number
Not "we are CE and ISO certified" but the certificate number, the issuing body and the expiry date. Those are checkable.